Dynamic Objects – Create Properties That Can Be Modified Anytime
- 1. How to Create Properties with Side Effects
- 2. Creating a Dynamic Table Primitive
- Closing Thoughts
- Resources
We have all been there. We would add a primitive, say a UV Sphere, we would adjust the radius, we would think we are done tweaking and we would click somewhere else, only to realize that we forgot to adjust the segments of the sphere. Or maybe you accidentally clicked somewhere else, or your mouse has been annoying you recently or whatever. And we wish if Blender would allow us to tweak this one property this one time without having to delete and start from scratch, but eventually that’s what we end up doing all the time.
Can’t Blender allow us change some of those basic properties of an object that we just inserted? It allows us to do so with Location, Rotation, Scale and a few other properties, so there should be a way Blender can do this right?
Yes and no. I mean, kind of. That’s what we gonna explore in this article: creating objects with dynamic properties that can be adjusted at any time even if you click somewhere else, even if your mouse is annoying, even if have done a 100 things after the fact or even after you close Blender, shutdown you computer and come back the next day.
A small disclaimer – I am not claiming that this is the best way to do this. There are probably several other ways to do this including using a combination of modifiers or using geometry nodes, etc. The intent of this approach is to explore if we can create dynamic objects similar to how the basic properties like location, rotation and scale work on a given object.
So with that in mind, let’s get started.
1. How to Create Properties with Side Effects
The core idea behind dynamic objects is to provide the user with properties that can be adjusted from the UI, just like an operator’s undo panel when you create a new object, but one that also lets you change them anytime instead of only immediately after you create the object.
1.1 Defining Custom Properties
Any such property, be it the ones you see when you create the object or the ones you see in the properties window that are always there, have to be one of the types defined in the bpy.props module. Creating properties is really simple. This is all we need to do:
>>> import bpy
>>> bpy.types.Scene.global_subd_max = bpy.props.IntProperty()
And then we can access the property from the respective data block:
>>> bpy.context.scene.global_subd_max
0
Notice that when creating a property we use the underlying type of the data block on which we want the property to be created, in this case the bpy.types.Scene type. But when we access it, we do so directly from the data blocks, in the case, the bpy.context.scene data block.
This is how properties work across the board – you register on the underlying type and access it from the corresponding data blocks. It is also possible to simply store the property in a stand-alone variable rather than a data block, but that not useful as will see later in the article.
1.2 Making Properties Create Side Effects
Now, let’s try make our property global_subd_max to set the subdivision level on all objects if they are greater than this value whenever its modified; it shouldn’t do anything if the subdivision levels on an object is less than this as well. How do we do that?
This is where the beauty of properties come in. All properties defined in bpy.props (except the CollectionProperty) allow us to provide a function that will be called whenever the property is updated. We can provide this function using update keyword when creating the property. So let’s write our update function first. For simplicity, I am gonna assume all objects have a subdivision surface modifier and only one modifier on them:
>>> def set_global_subd_levels(self, context):
...     for obj in context.scene.objects:
...         if obj.modifiers[0].levels > self.global_subd_max:
...             obj.modifiers[0].levels = self.global_subd_max
...
>>> bpy.types.Scene.global_subd_max = bpy.props.IntProperty(
...     update=set_global_subd_levels
... )
The update functions take two arguments – self and context – where self refers to the data block on which the property was created and context, as usual, refers to the current context. Note that I have recreated the property here by providing our update function using the update keyword. Now if you modify this property, any objects with a subdivision level greater than the value you assign will be assigned this value. For example, in the following scene, I have created 5 cubes each with subdivision levels from 1 to 5:
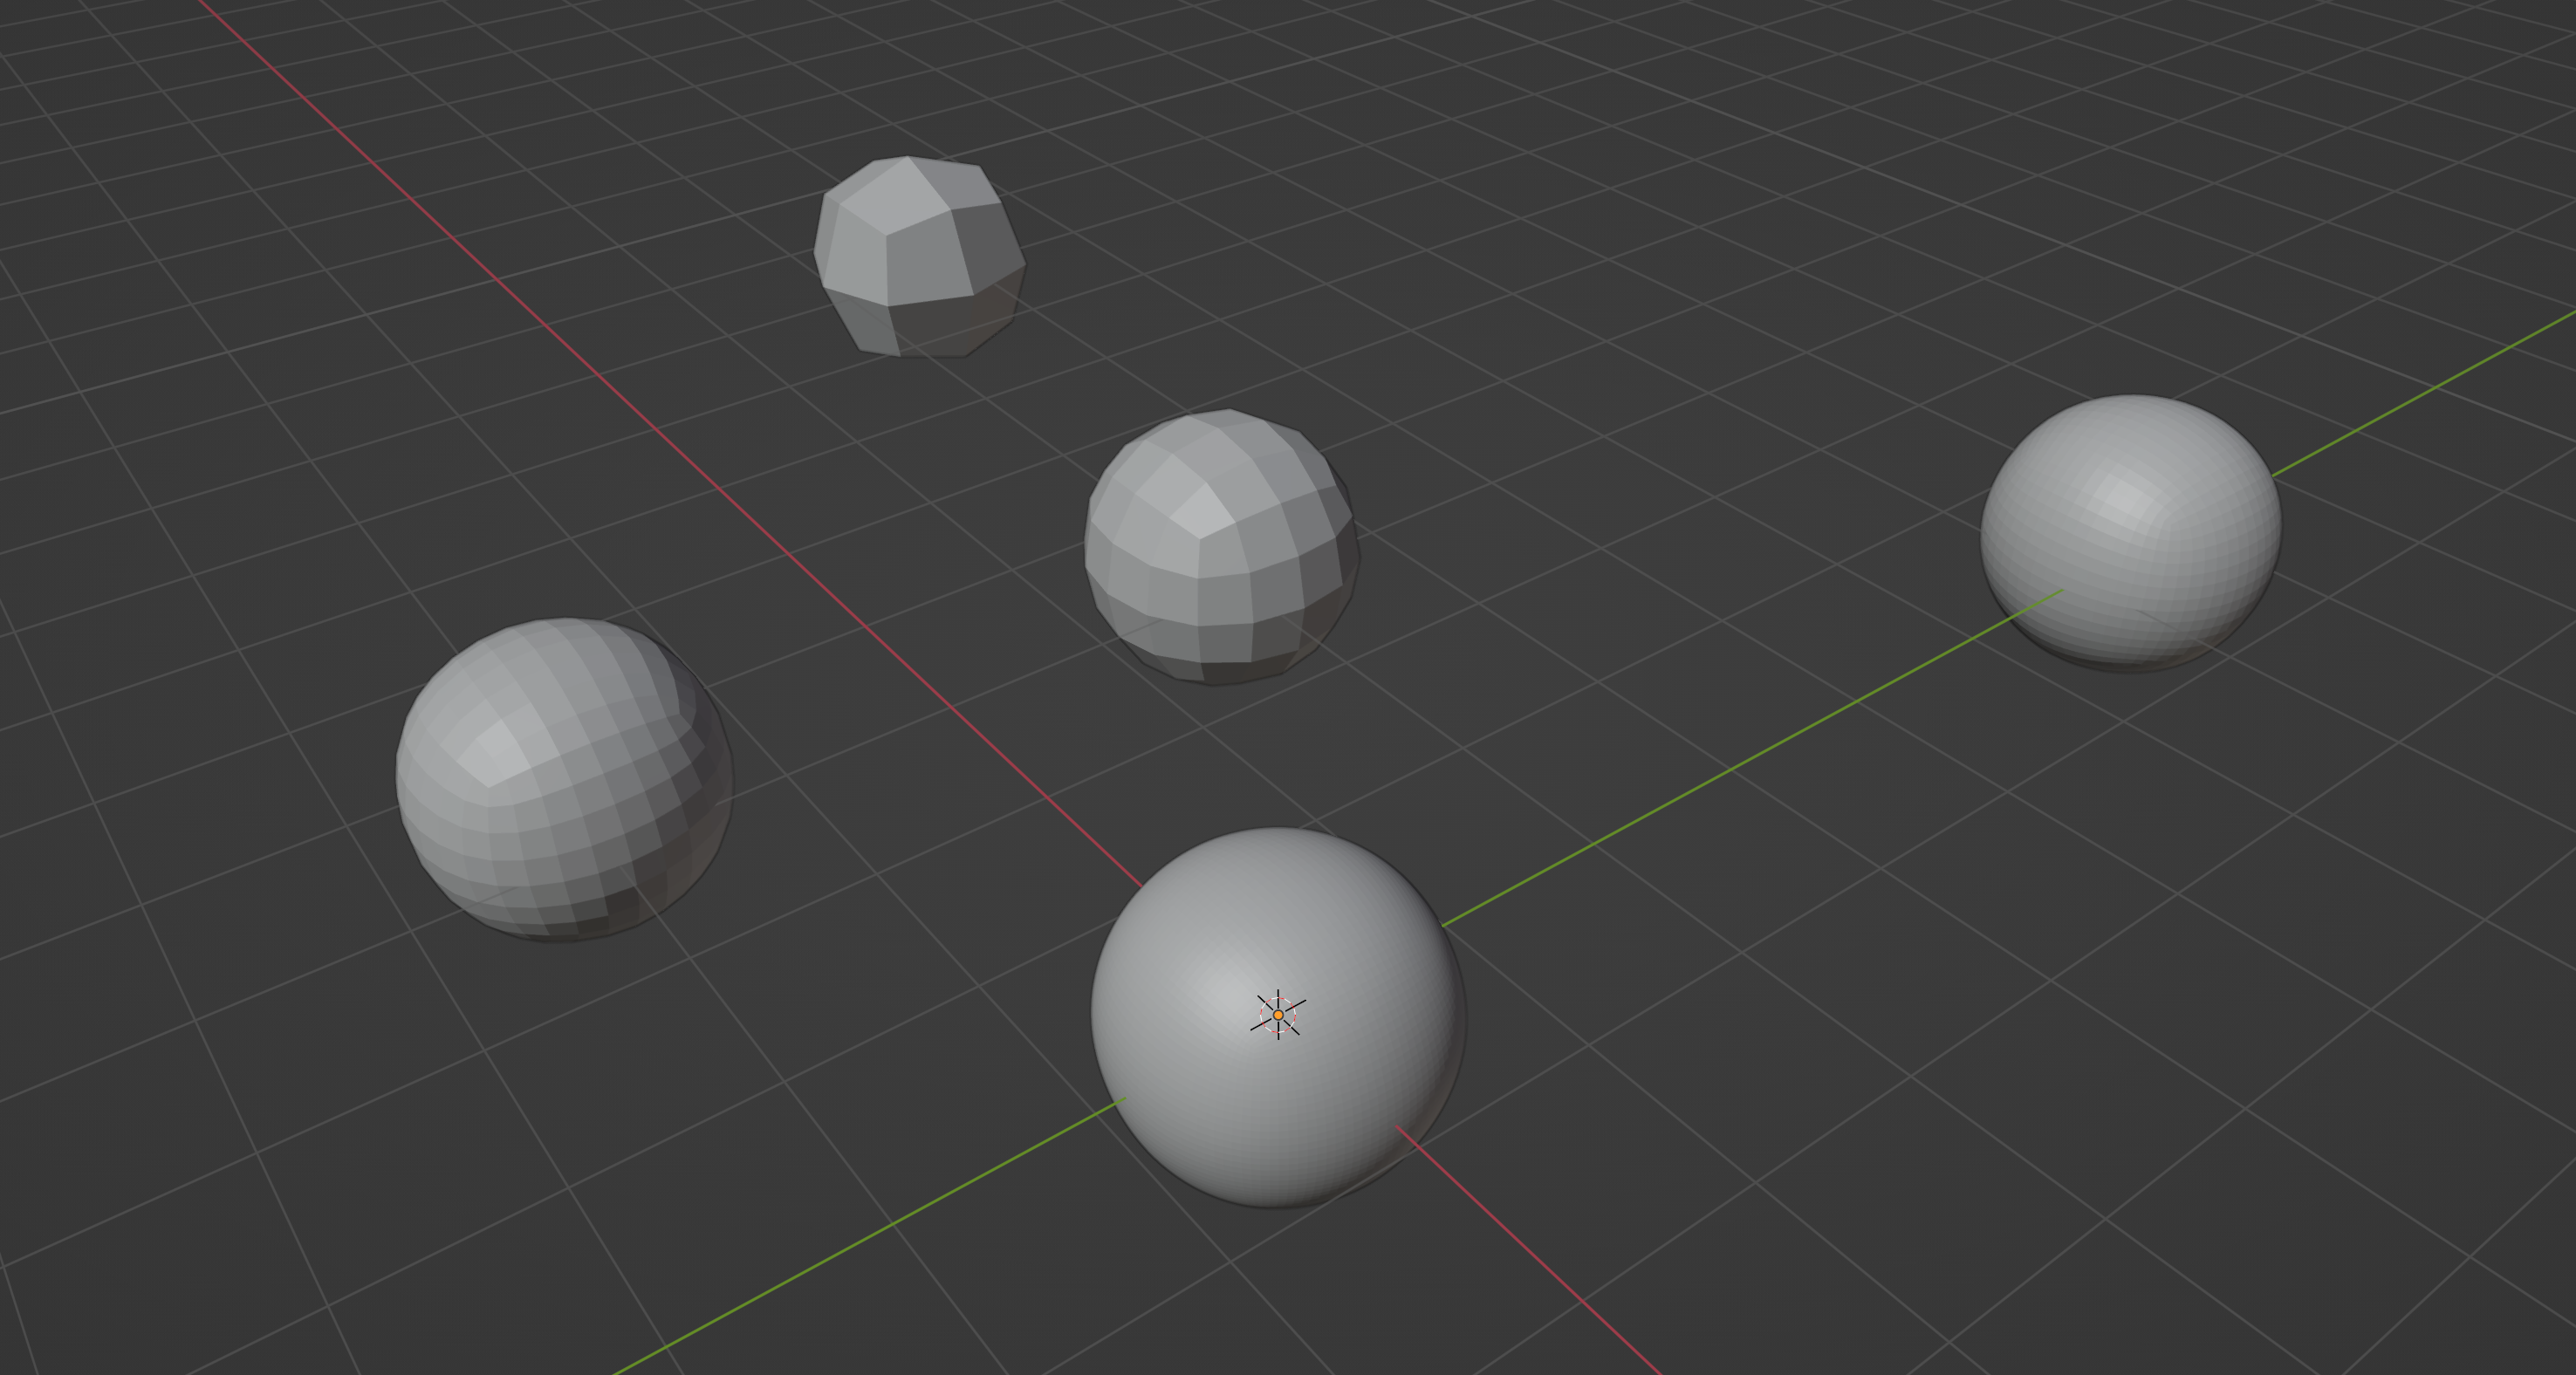
Now if I assign the property with a value of 2 like so:
>>> bpy.context.scene.global_subd_max = 2
It would update the subdivision values on the cube with levels higher that 2 like so:
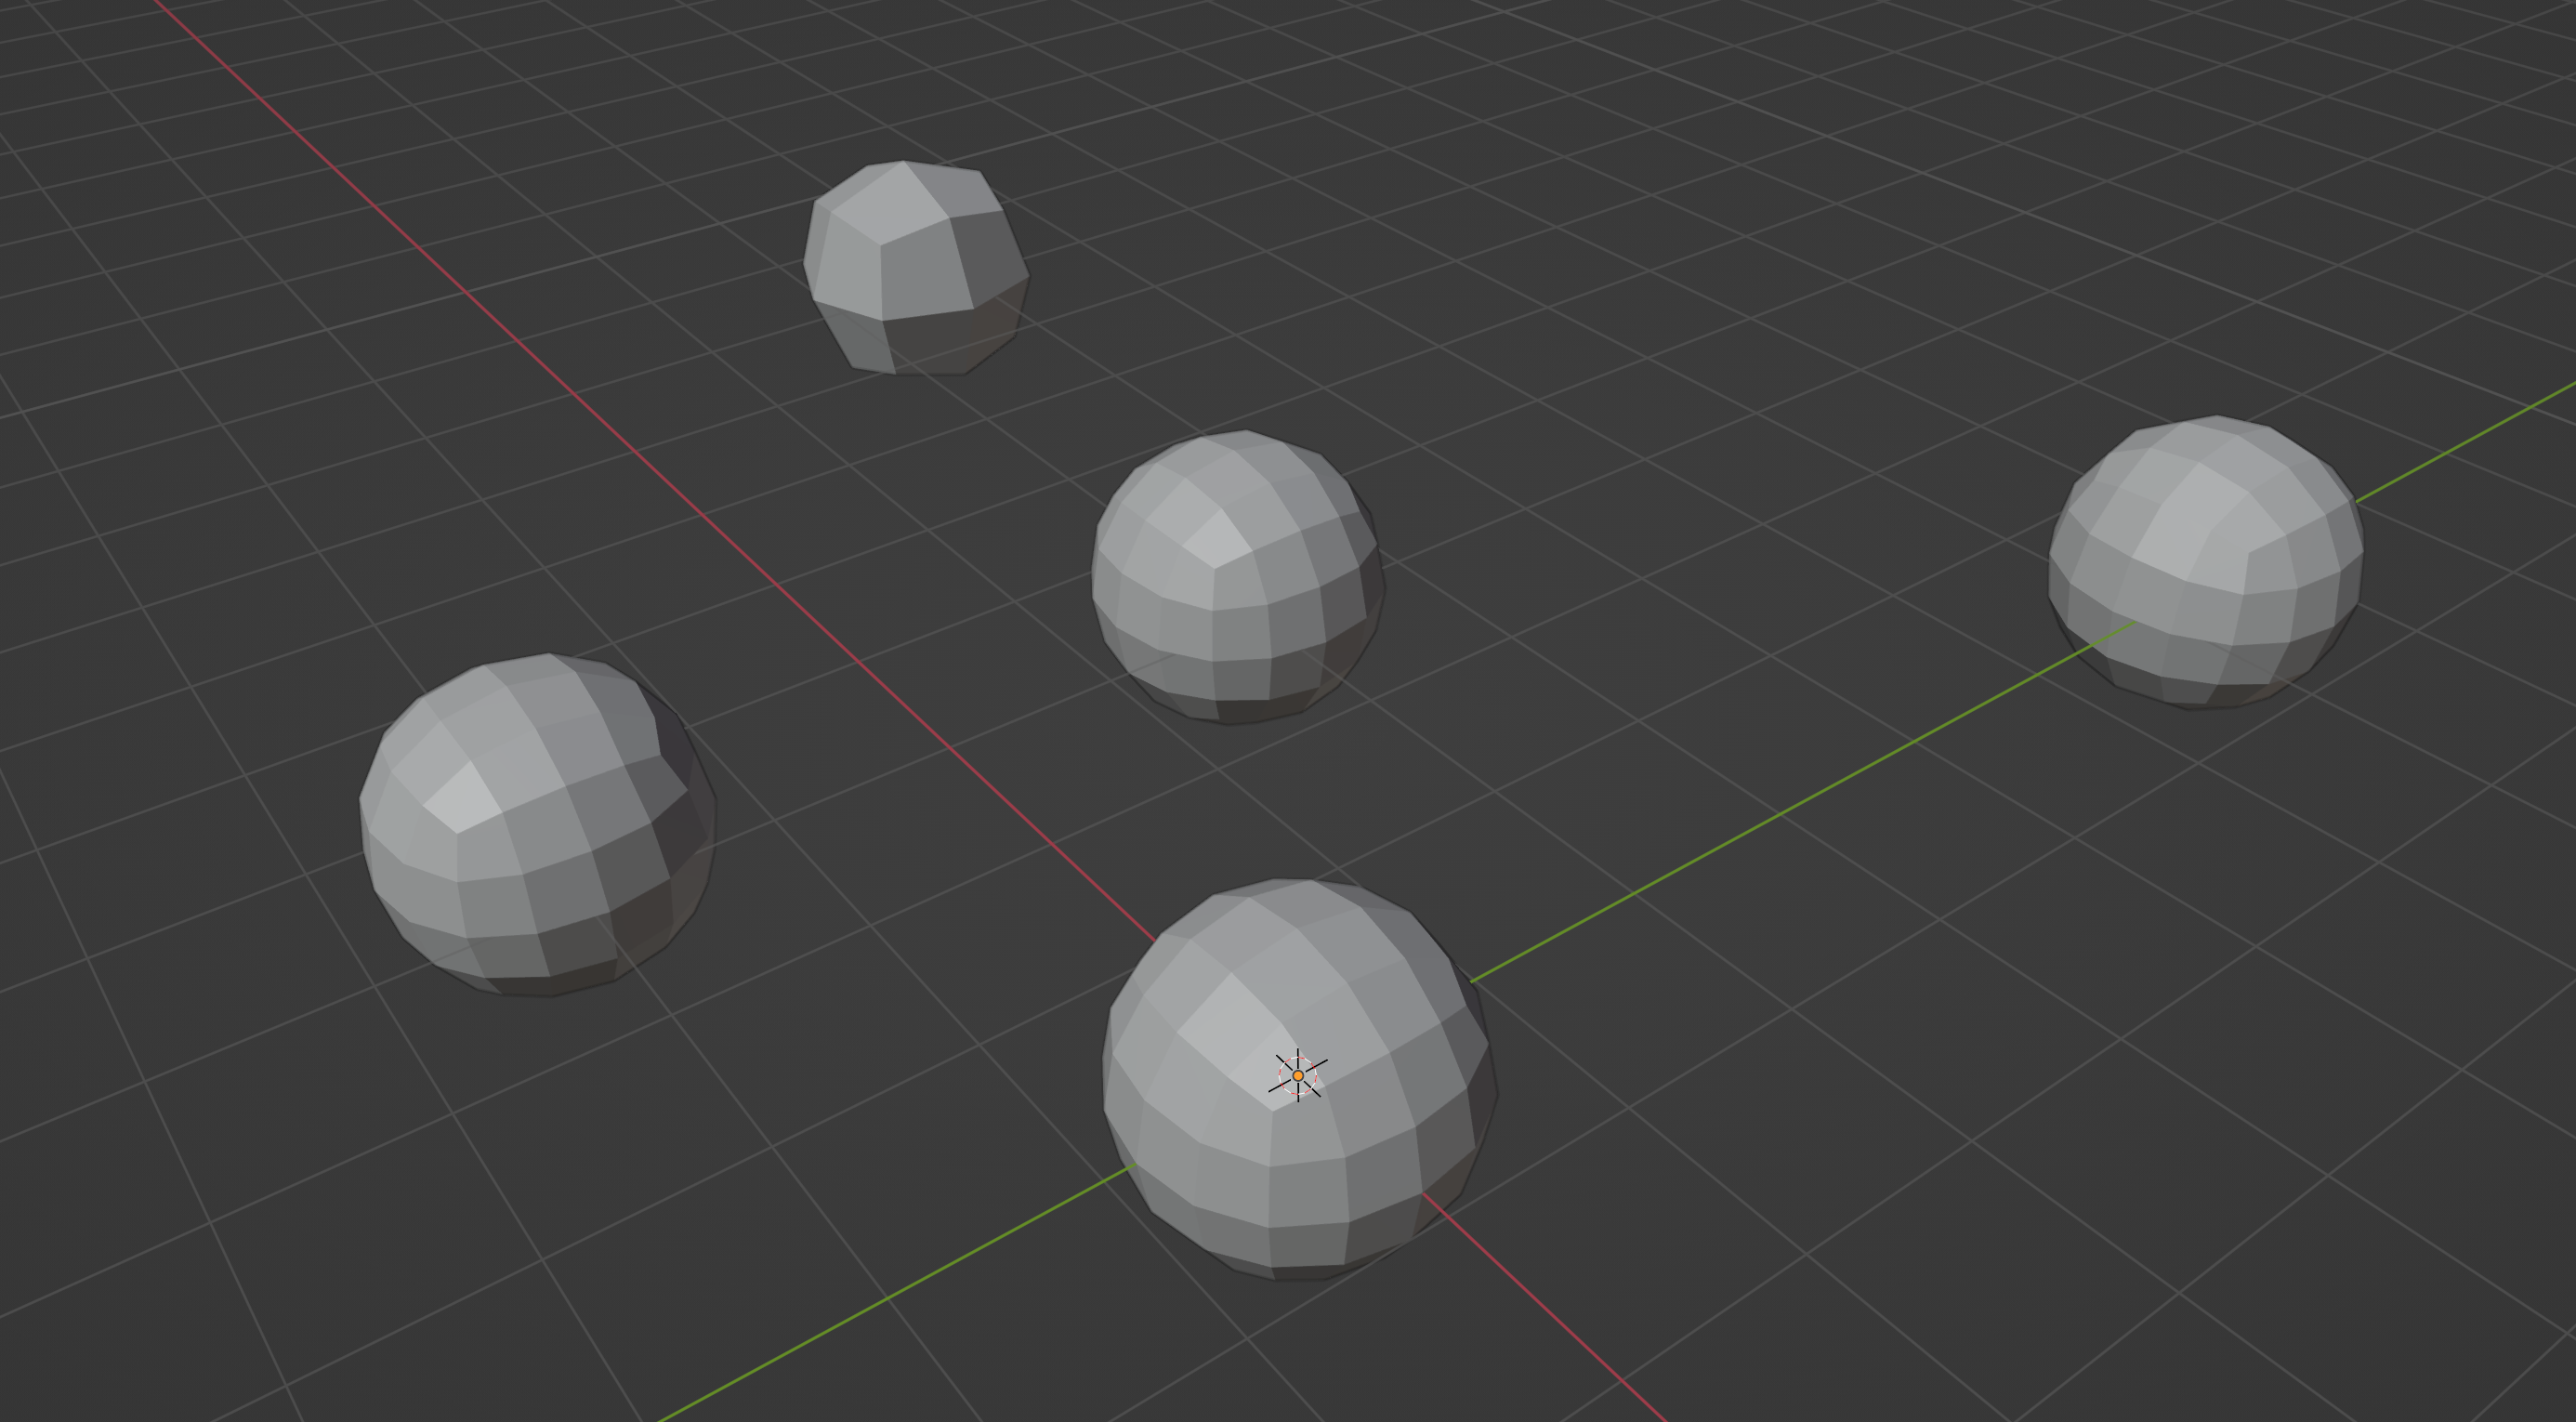
As you can see, the cubes with subdivision levels greater that 2 have been updated when we modify the global_subd_max value without us having to update each of them individually. This is core idea behind creating dynamic objects in Blender – we create a property and provide an update function that tells it what to do when the property is updated.
Now that we understand how to create properties that dynamically update data in a scene, let’s dive into actually creating a dynamic object.
2. Creating a Dynamic Table Primitive
For the purpose of this article, we are going to create a Table primitive that we can add to our scene and update the parameters whenever we want. Now, I will not be covering how to generate the table itself, because that’s not the focus of the article. But it should be pretty simple to understand, especially if you have been following my previous articles on creating a Spiral Staircase using the BMesh API. If you haven’t, I highly recommend you do.
If you have any questions, shoot them on Twitter; I will be happy to answer, but for now you can grab the starter blend file from this link in which I have already setup the generation code:
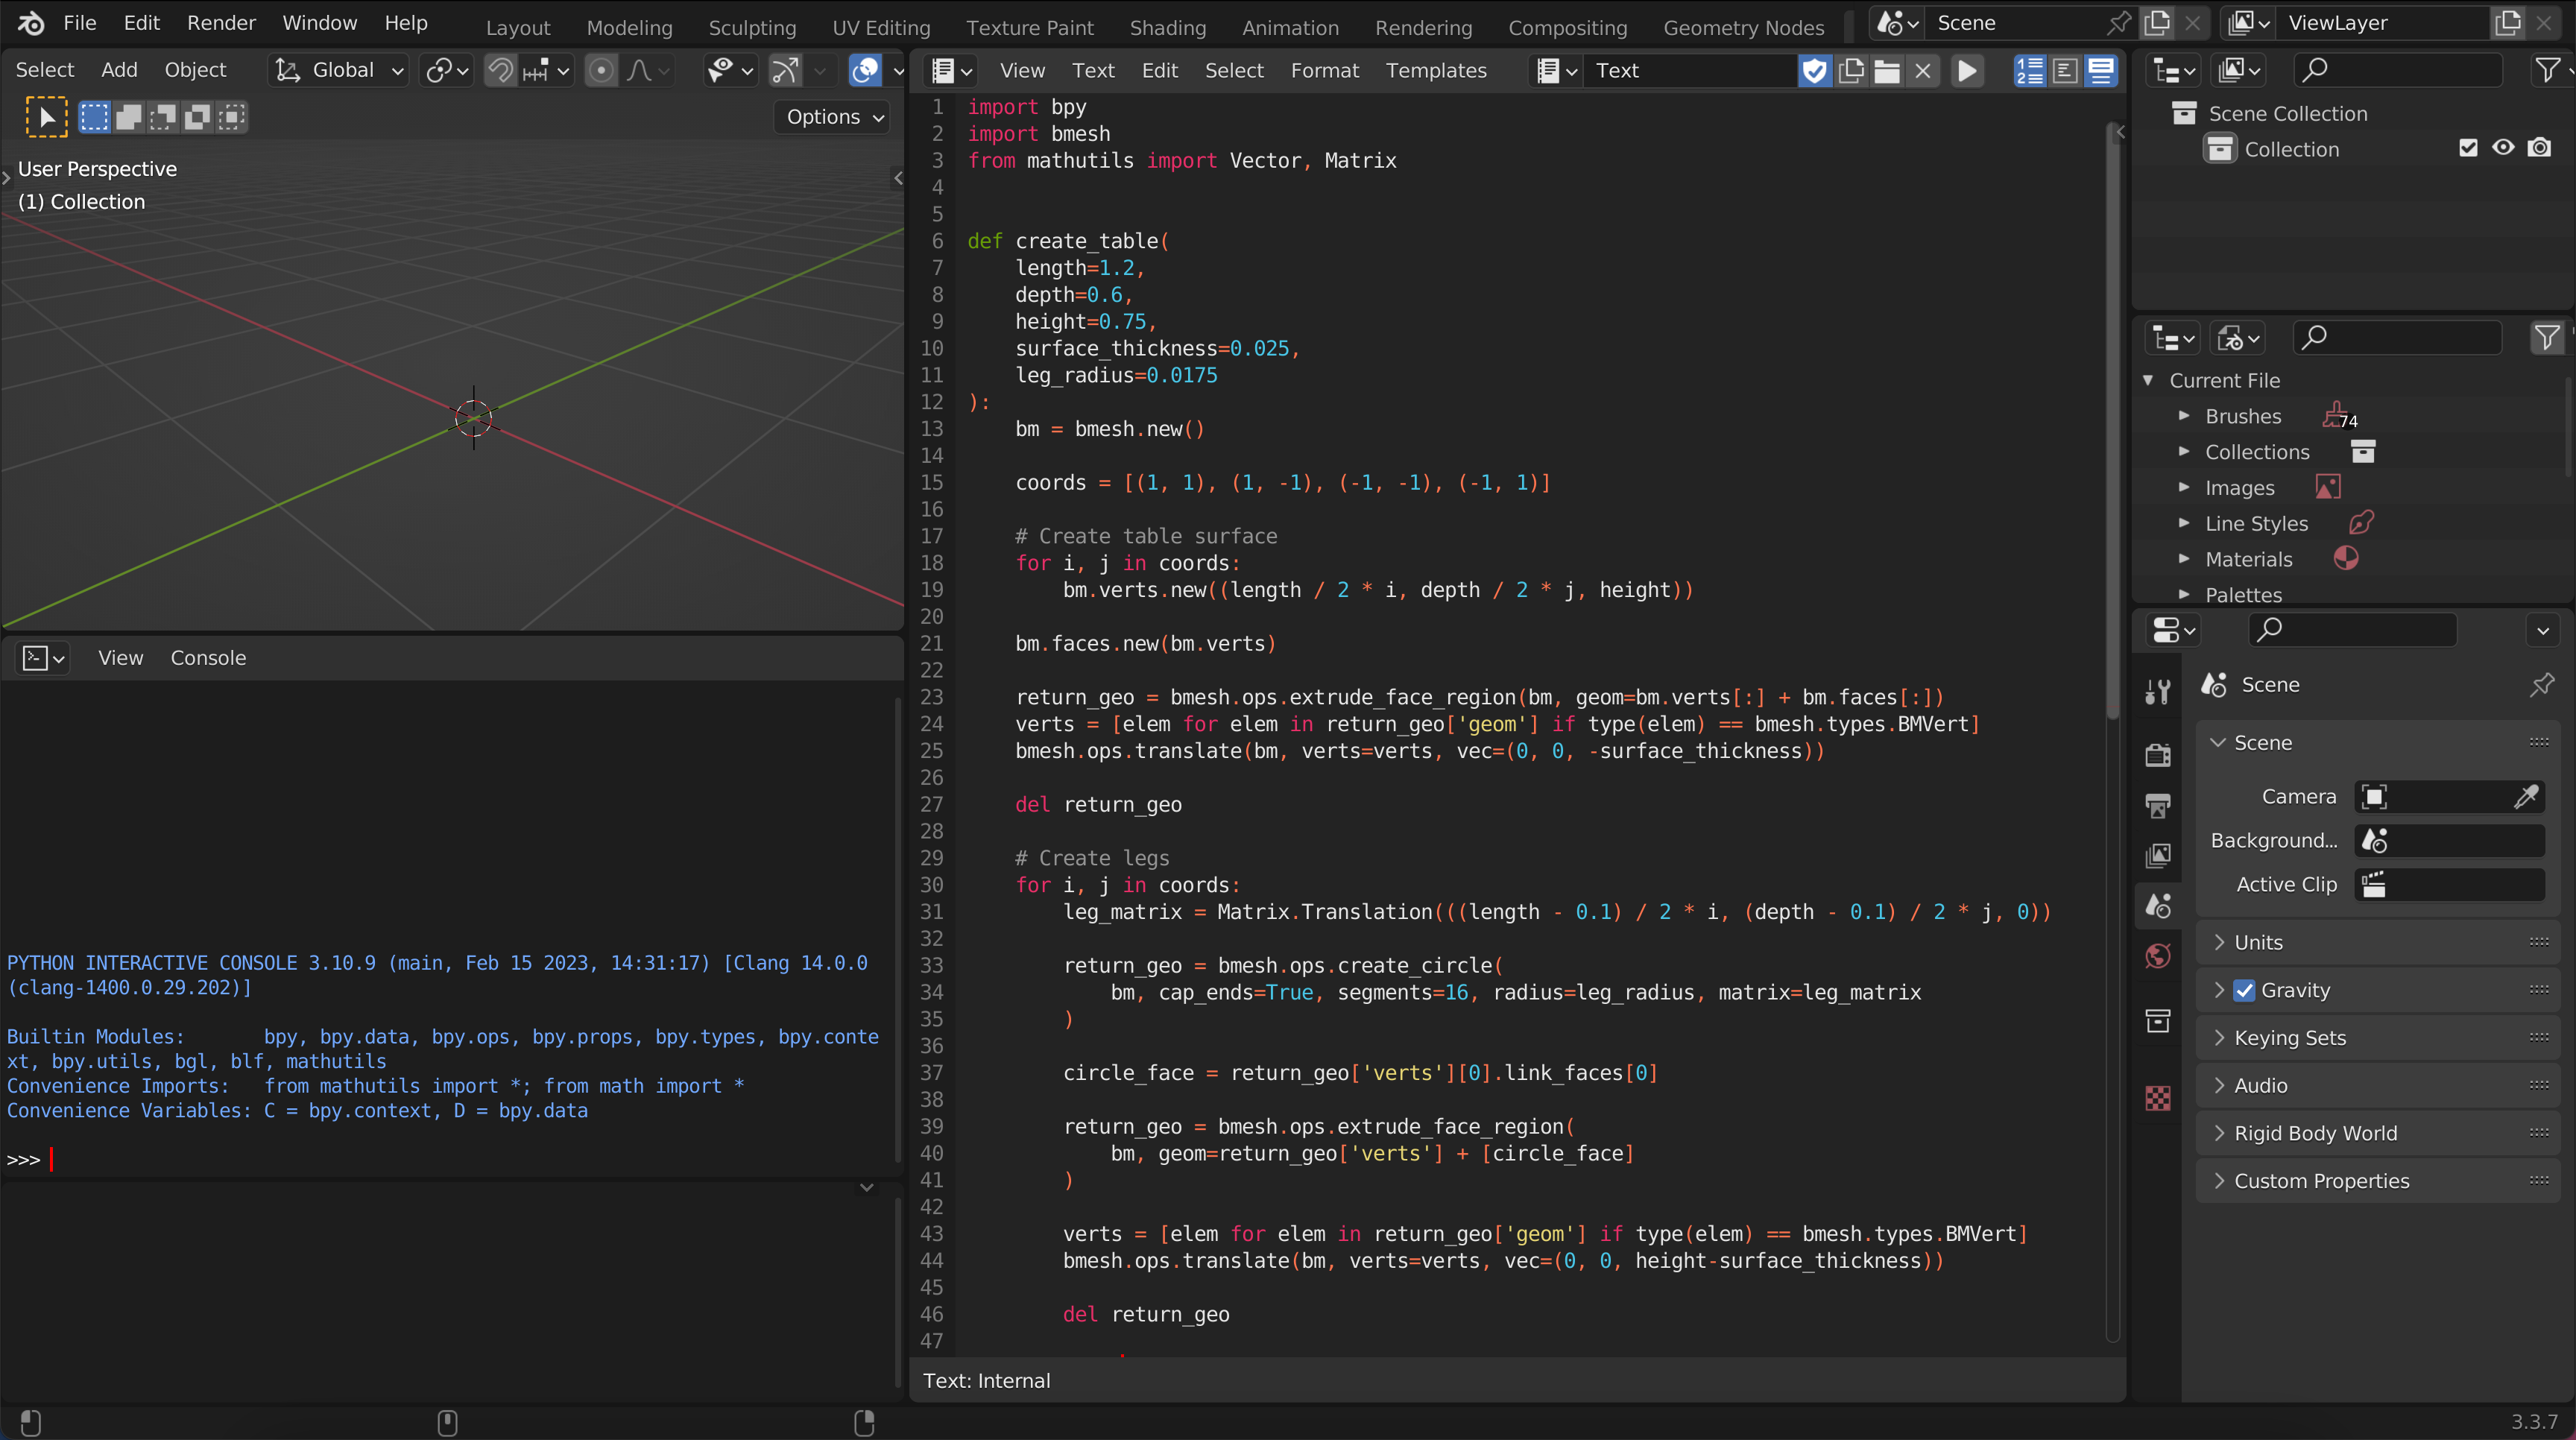
Open the above blend file, click on Run Script ▶️ from the Text Editor’s header, bring up the search panel, search for “Create Table”, click on the operator and you should have a table sitting in the viewport:
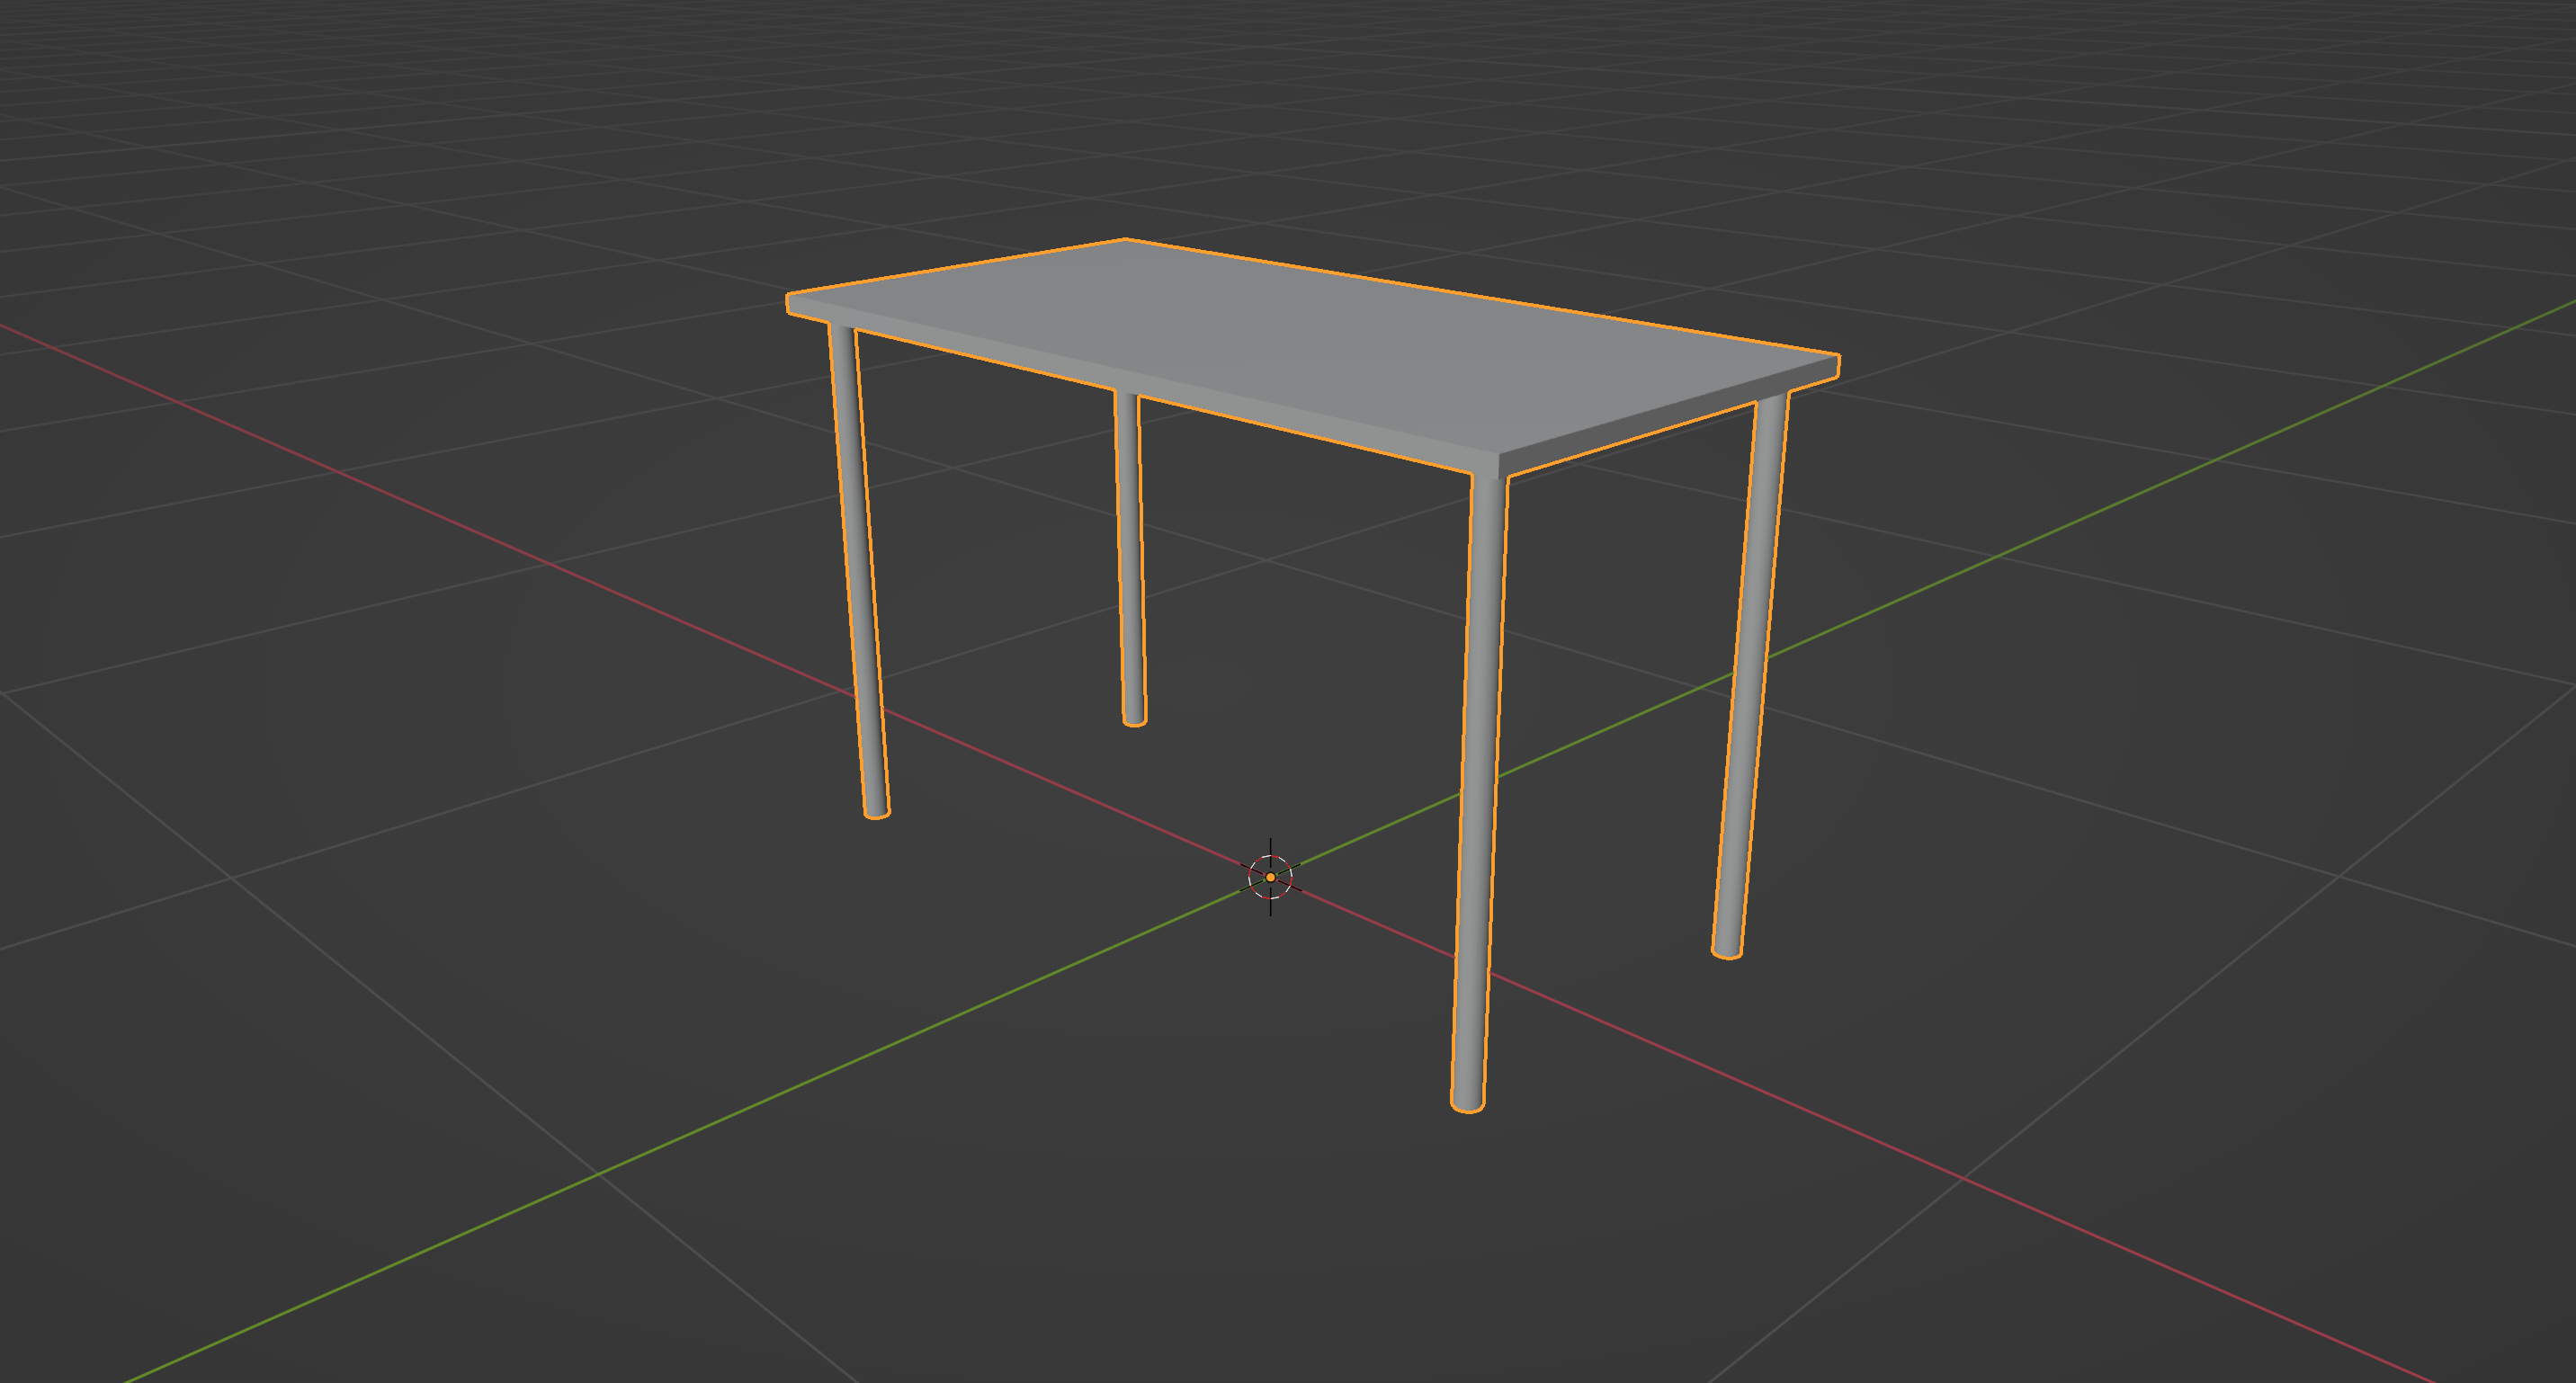
Although we can’t change the parameters of the table yet, since we haven’t exposed any of them to the Create Table operator. Typically you would put the properties directly inside the operator’s definition, but in this case, since we are planning to expose them permanently we are making the operator to just handle the creation part.
So the only challenge for us is to figure out how to make the properties available for modification in the viewport properties panel (N panel) just like location, rotation and scale. Let’s break it down. We have to solve three things:
- Create the required properties for the table
- Write the update function that will modify the table
- Expose these properties in the viewport properties panel
Let start with the writing the update function that will modify the table geometry every time one of the parameters is changed.
2.1 Creating the Properties for the Table
If you look at the GIF above, you can see that our table has five properties: length, depth, height, surface thickness and leg radius. We could, similar to how we did in the introduction, create these properties separately, but that’s gonna quickly become cumbersome especially if you defining multiple properties across multiple dynamic primitives. So we need a way to create our properties and group them together, so that we can access them through a single interface.
Well, Blender provides a built-in mechanism to group related properties together like that – the PropertyGroup type. All we need to do is to define a class that sub-classes bpy.types.PropertyGroup and define our properties inside this class:
...

class TableProps(bpy.types.PropertyGroup):
    length: bpy.props.FloatProperty(
        name="Length",
        default=1.2,
        min=0,
        step=1,
        update=update_table
    )

    depth: bpy.props.FloatProperty(
        name="Depth",
        default=0.6,
        min=0,
        step=1,
        update=update_table
    )

    height: bpy.props.FloatProperty(
        name="Height",
        default=0.75,
        min=0,
        step=1,
        update=update_table
    )

    surface_thickness: bpy.props.FloatProperty(
        name="Surface Thickness",
        default=0.025,
        min=0,
        step=0.1,
        update=update_table
    )

    leg_radius: bpy.props.FloatProperty(
        name="Leg Radius",
        default=0.0175,
        min=0,
        max=0.035,
        step=0.1,
        update=update_table
    )

...
I am adding this immediately after the create_table function and before the CreateTable operator. Basically we have defined five float properties each with their own name, default, min/max values and a step value which tells Blender how precisely you want the property to be controlled when you click and drag on it in the UI. Apart from these attributes, we are providing all the float properties with an update function called update_table (which we are yet to write) that will be called every time one of these properties changes.
In order to make this property available to Blender like any other property, we have to register the class and assign it to a data block like we did in the introduction:
        ...

        max=0.035,
        step=0.1,
        update=update_table
    )

bpy.utils.register_class(TableProps)
bpy.types.Object.table_props = bpy.props.PointerProperty(type=TableProps)

...
Notice that when assigning our property group to bpy.types.Object.table_props, we are create a pointer property to our TableProps class. This would make the property group available to objects through the table_props attribute.
But we can’t run our script yet as it would throw an error, because we still haven’t written the update_table function that will be called when these properties change.
2.2 Writing the Update Function for the Table
This should be the easiest of the three. All have to do is to define a function that takes the same two arguments we saw in the introduction (self and context), generate a new BMesh object for the table using the create_table() function with the changed properties and write it back to the active object’s mesh:
...

def update_table(self, context):
    bm = create_table(
        self.length,
        self.depth,
        self.height,
        self.surface_thickness,
        self.leg_radius,
    )

    bm.to_mesh(context.object.data)
    bm.free()

...
I have placed this function just before the TableProps class. We are almost there. We now have a system that will update the table’s mesh whenever one of these properties change. To test if this is works, let’s run the script, create a new table object (if you haven’t already) and try changes the values via the Python Console:
>>> bpy.context.object.table_props.length = 1.8
>>> bpy.context.object.table_props.depth = 0.9
>>> bpy.context.object.table_props.height = 0.9
>>> bpy.context.object.table_props.surface_thickness = 0.04
>>> bpy.context.object.table_props.leg_radius = 0.015
You will notice that the table is updating in realtime every time you change one of these properties in the console:
The only thing left is to expose these properties on the viewport properties panel, so the we can adjust these values using the UI like any other properties.
2.3 Exposing the Properties on the Viewport Properties Panel
In order to expose our table properties on the viewport properties panel, we have write our own panel that sub-classes bpy.types.Panel, and in this case, let’s create a separate tab for the table properties:
...

class TablePropsPanel(bpy.types.Panel):
    bl_label = "Table Properties"
    bl_space_type = 'VIEW_3D'
    bl_region_type = 'UI'
    bl_category = "Dynamic"

    def draw(self, context):
        layout = self.layout

        layout.prop(context.object.table_props, "length")
        layout.prop(context.object.table_props, "depth")
        layout.prop(context.object.table_props, "height")
        layout.prop(context.object.table_props, "surface_thickness")
        layout.prop(context.object.table_props, "leg_radius")

bpy.utils.register_class(TablePropsPanel)
...
I have added this class at the end just before we register the CreateTable operator. A few things worth noting here:
- The
bl_label,bl_space_typeandbl_categorytell Blender the name of the panel, the space type to add the panel to (the 3D viewport in this case) and the tab to add the panel to respectively. Since, in our case, we don’t have a tab named “Dynamic” already, this would create a new tab for us. - The
bl_region_typeis only applicable to certain in certain cases and tells Blender to which part of the givenbl_space_typeit should add the panel to. We are adding it to the UI, but you can also add elements to the header, footer, etc. - Inside the
draw()method, we are merely adding the properties to the layout. Thelayout.prop()method takes two mandatory arguments: a data block and a property name. In this case the data block is ourtable_propsproperty group variable from which we are accessing all the five properties.
And that’s really it. Let’s run the script and let’s try changing those properties:
There we have it – a dynamic object with properties that can be changed at any time. We still have one problem though. If you add a cube and look the properties panel, you will see that those properties are still there. Indeed if you try changing these properties, it will overwrite the cube’s mesh with a table!
We don’t want this behaviour. We want our properties to be available only on objects we intend to make dynamic. In order to do this, we have to modify our code just a little bit:
- First, we need a flag that can identify the objects we want to make dynamic
- Second, we need to make the panel show up only when this flag is available on the object.
In order to add a flag to our object, we can simply add one line to the execute() method of our CreateTable operator:
        ...

        table_obj['dynamic'] = True

        return {'FINISHED'}

...
Right before we return {'FINISHED'} we assign an attribute called 'dynamic' to the our table_obj using the dictionary syntax and set it to true. This is not like the regular properties that we access using the dot notation, but Blender will store these in the blend file nonetheless.
In order to make the Table Properties panel show up only when this attribute is present, we can introduce a poll() method into the panel’s class. The poll method is run before the draw method of the class and the panel is drawn only if it return True. So let’s add this to our panel class definition:
        ...

        @classmethod
        def poll(cls, context):
            return context.object is not None and \
                "dynamic" in context.object.keys()

        ...
And that should do it. If you run the script and add a cube to the scene, you will notice that the Table Properties no longer show up. But if you add a table, it should show up again.
Closing Thoughts
As you can, it didn’t take much effort to create a dynamic object in Blender. But there are some limitations to this approach. The first one being, you cannot edit the object like you would with other objects. It is possible to make edits to these objects, but the edits you make will be overwritten the moment you change one of the properties.
The same goes for other changes like tweaking the UVs – they will be overwritten too. This is where dynamic objects become a little tricky, and no wonder they are not a feature of Blender.
You have to come up with complex strategies to make them work with the rest of the workflow and they may not be one hundred percent perfect, but this is good place to start!
You can grab the finished blend file from this link. Thank you for reading and see you next time!
Resources
Subscribe to my newsletter
Join 1500+ Technical Artists, Developers and CG enthusiasts who receive my latest posts on Blender, Python, Scripting and Computer Graphics directly to their inbox.