Generating a Spiral Staircase – BMesh Crash Course – Part 2 of 2
- 1. Replicating the stair into a spiral
- 2. Creating the center pole
- 3. Creating the hand rail
- 4. Creating the balusters
- Resources
In the previous part we discussed the geometry of a spiral staircase and how we can generate a single stair element using the BMesh API. In this part we will discuss how to take that stair element and replicate it into a spiral. We will also be looking at how to generate the other parts of the staircase like the center pole, railing and balusters.
1. Replicating the stair into a spiral
To replicate the stair element that we have into a spiral we have to first duplicate it and find a find a way to move the resulting geometry to the right place with right orientation. So basically, duplicate, translate and then finally rotate. And we have to repeat the same for the number of steps we have calculated for our staircase.
1.1 Duplicating the stair mesh
Let’s start with duplicating our stair element, for which we will be using, obvious as it sounds, the bmesh.ops.duplicate() method. Just like any other operator in bmesh it requires the bmesh object and a list containing portions of the mesh we want to duplicate. Since in our case we are duplicating the entire mesh, we should pass all the vertices, edges and faces we currently have in our bmesh object, which we can do like so:
...

bmesh.ops.translate(bm, verts=verts, vec=(0, 0, -TREAD_THICKNESS))
# ---------------------- Code from part 1 ------------------------

stair_geo = bm.verts[:] + bm.edges[:] + bm.faces[:]
return_geo = bmesh.ops.duplicate(bm, geom=stair_geo)

# ---------------------- Code from part 1 ------------------------
bm.to_mesh(bpy.data.objects['Staircase'].data)
bpy.data.objects['Staircase'].data.update()
bm.free()
The [:] syntax returns every element from the sequence. So basically we are get every vertex, edge and face from our bmesh object and their references in the stair_geo variable. The reason we are using [:] instead of simply adding like bm.vertices + bm.edges is because bmesh doesn’t allow us to do that, although the same would work fine for a normal python list.
Anyway, once we store all of geometry in this variable, we then pass it to the duplicate method of the bmesh module which in turn returns the duplicated geometry to us, which we are storing in our return_geo variable as usual. This will be extremely helpful to us, because we don’t have to worry about selecting the right geometry to process every step along the way.
1.2 Translating the duplicated stair up
Now that we have our duplicated geometry, let’s move this up by our riser distance. To do that will use the translate method as usual:
# Parameters
STAIR_WIDTH = 1.2
POLE_RADIUS = 0.075
POLE_GAP = 0.01
TREAD_DEPTH = 0.25
TREAD_THICKNESS = 0.05

TREAD_HEIGHT = 0.15
FLOOR_HEIGHT = 3

step_count = round(FLOOR_HEIGHT / TREAD_HEIGHT)
tread_height = FLOOR_HEIGHT / step_count

...

stair_geo = bm.verts[:] + bm.edges[:] + bm.faces[:]
return_geo = bmesh.ops.duplicate(bm, geom=stair_geo)

verts = [elem for elem in return_geo['geom'] \
            if type(elem) == bmesh.types.BMVert]
bmesh.ops.translate(bm, verts=verts, vec=(0, 0, tread_height))

...
Notice that I have added two new parameters to our list on top: the TREAD_HEIGHT and the FLOOR_HEIGHT. The TREAD_HEIGHT is not the actual tread height we will be using, just like the TREAD_DEPTH. Instead we first calculate the step_count by dividing the FLOOR_HEIGHT by the our expected TREAD_HEIGHT. Then we round this off, and use it to determine the actual tread_height by dividing FLOOR_HEIGHT using this number.
Then finally, to move our duplicated stair geometry, we first select all the vertices from the return_geo by iterating through return_geo['geom'] and comparing it to bmesh.types.BMVert every step along the way. And we move this up by providing a vector that has our calculated tread_height as the Z vector.
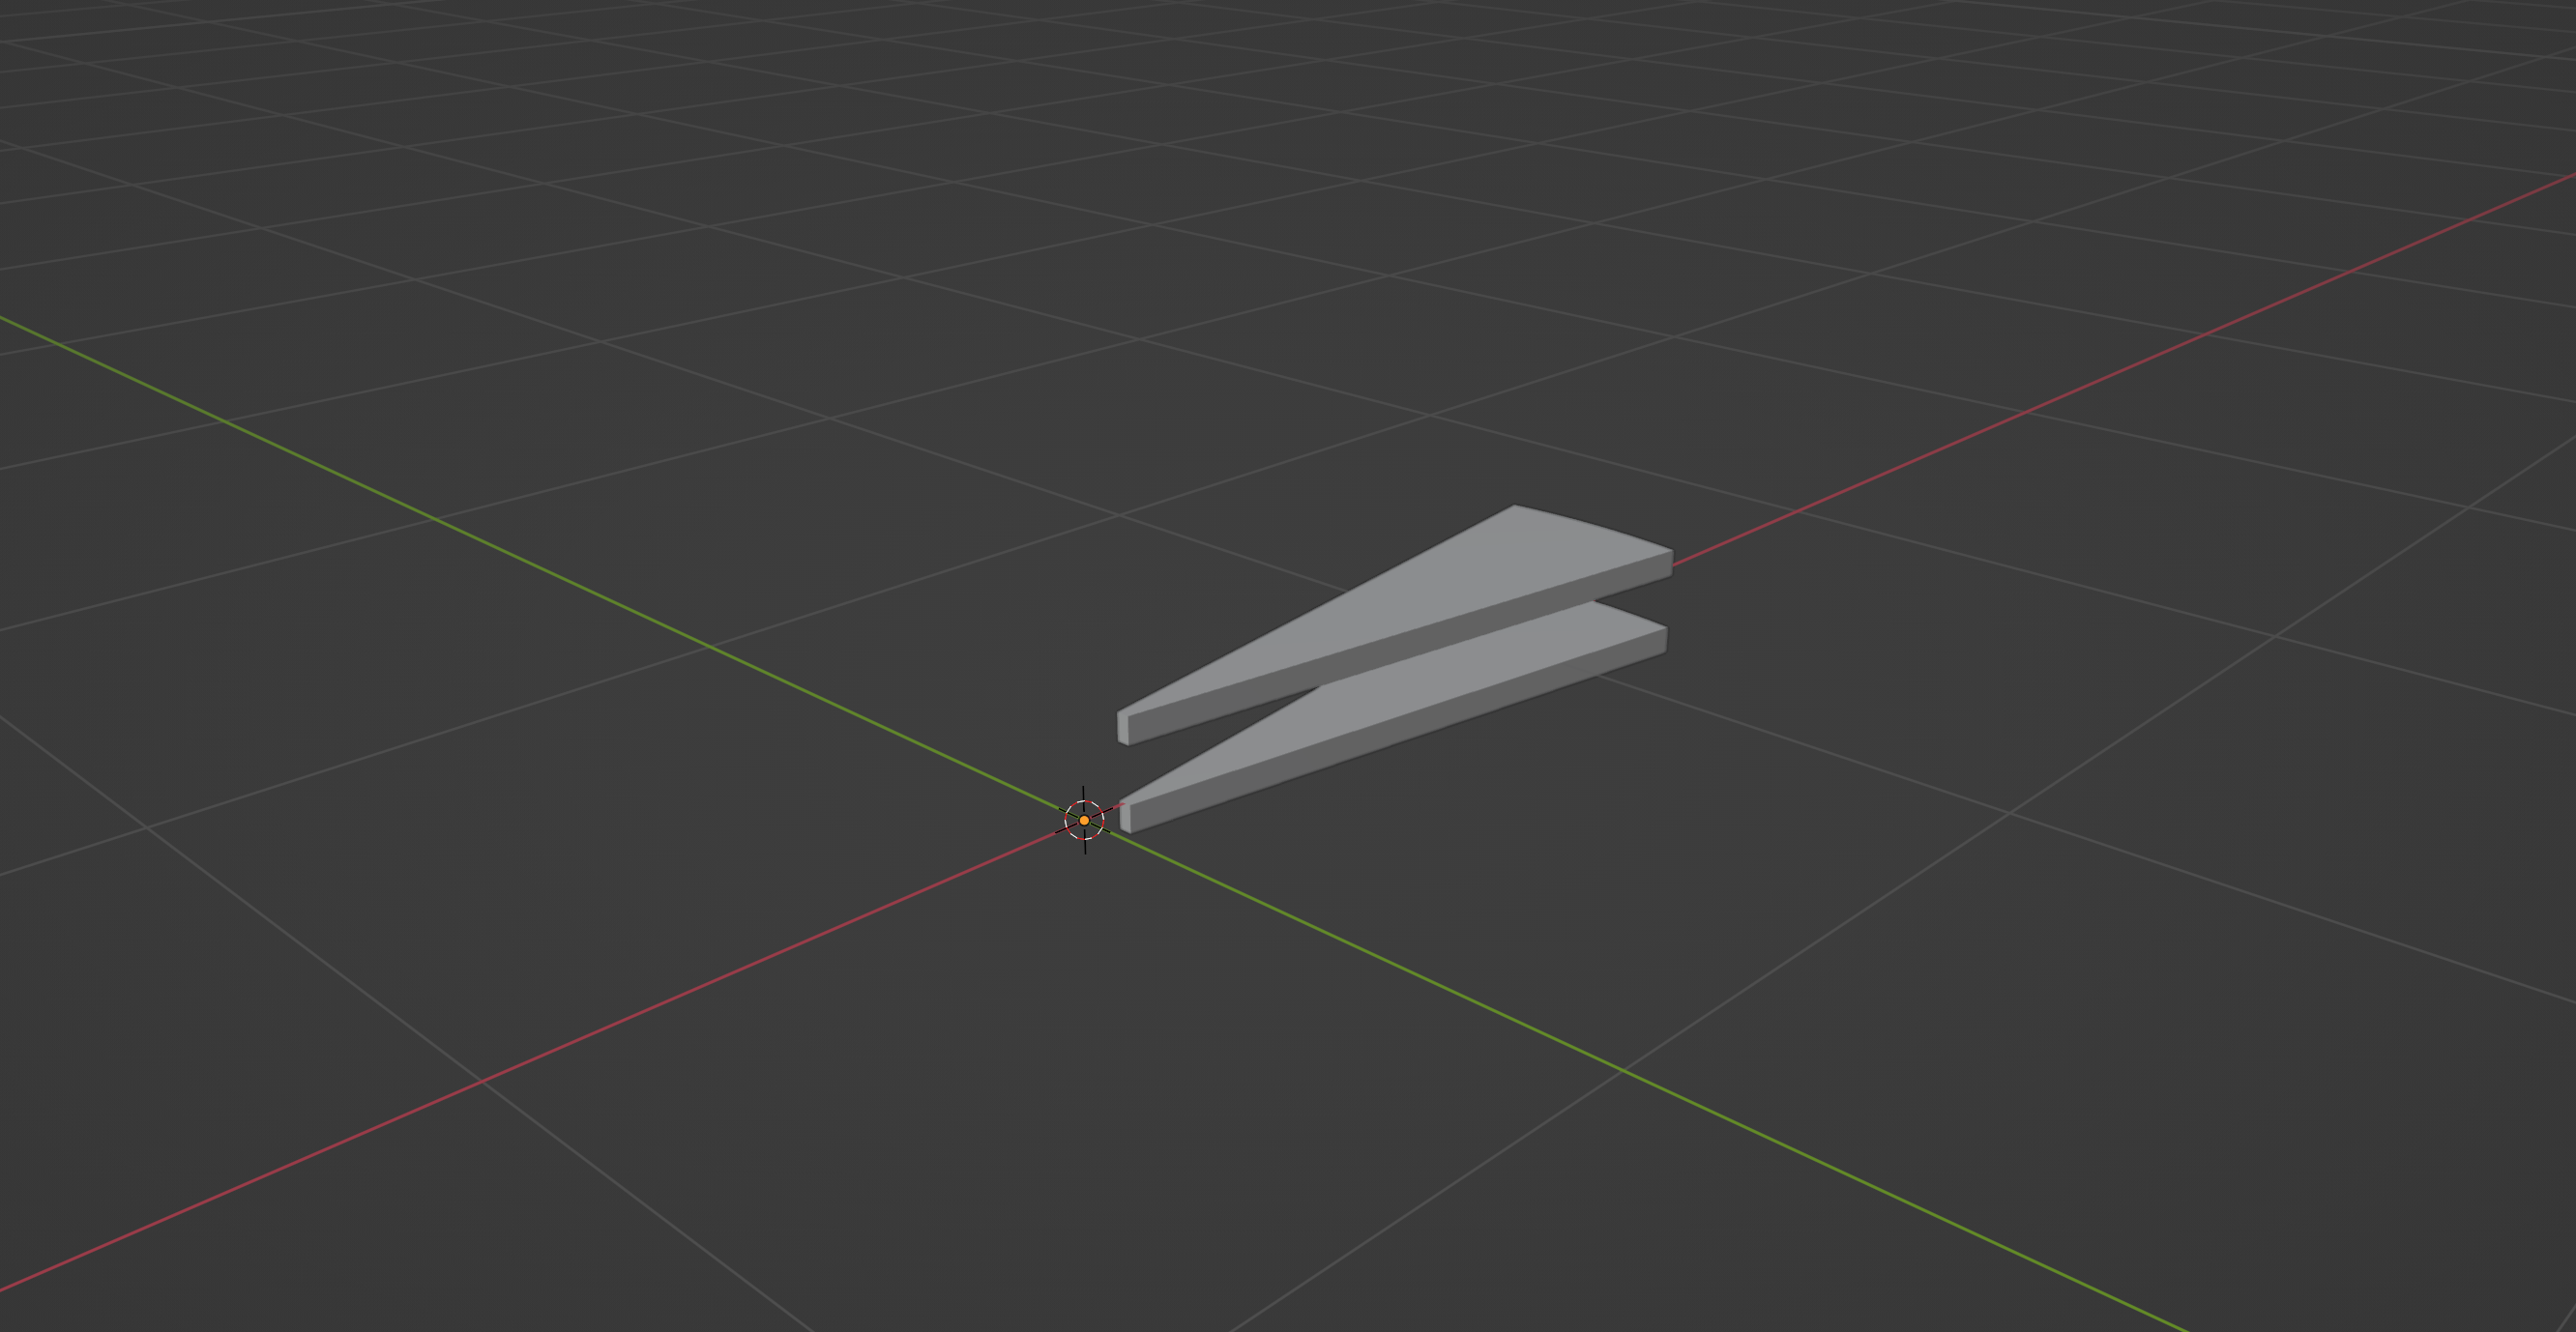
If you try running running the script now, you should be seeing two stair elements on top of each other as shown in the above screenshot.
1.3 Rotating the duplicated stair into place
With that in place, lets figure out how to rotate the duplicated stair element into place. To rotate our geometry, we will first create a transformation matrix that contains the rotation information, and then use it with bmesh.ops.transform() method to perform the rotation. To create rotation matrices, the Matrix object in the mathutils module has a built in method:
...

stair_geo = bm.verts[:] + bm.edges[:] + bm.faces[:]
return_geo = bmesh.ops.duplicate(bm, geom=stair_geo)

verts = [elem for elem in return_geo['geom'] \
            if type(elem) == bmesh.types.BMVert]
bmesh.ops.translate(bm, verts=verts, vec=(0, 0, tread_height))

matrix_rot = Matrix.Rotation(angle_rot, 3, (0, 0, 1))
bmesh.ops.transform(bm, matrix=matrix_rot, verts=verts)

...
The first argument to Matrix.Rotation is the angle of rotation, which we already have stored in the angle_rot variable. The second is, as usual, the matrix size; in this case we are creating a 3x3 matrix. And the final argument is the axis of rotation, which in our case is going to be the Z axis, and so we provide (0, 0, 1) as the value. We then pass this matrix to bmesh.ops.transform() along with the bmesh object bm and the vertex list verts that we created in the previous step for translate.
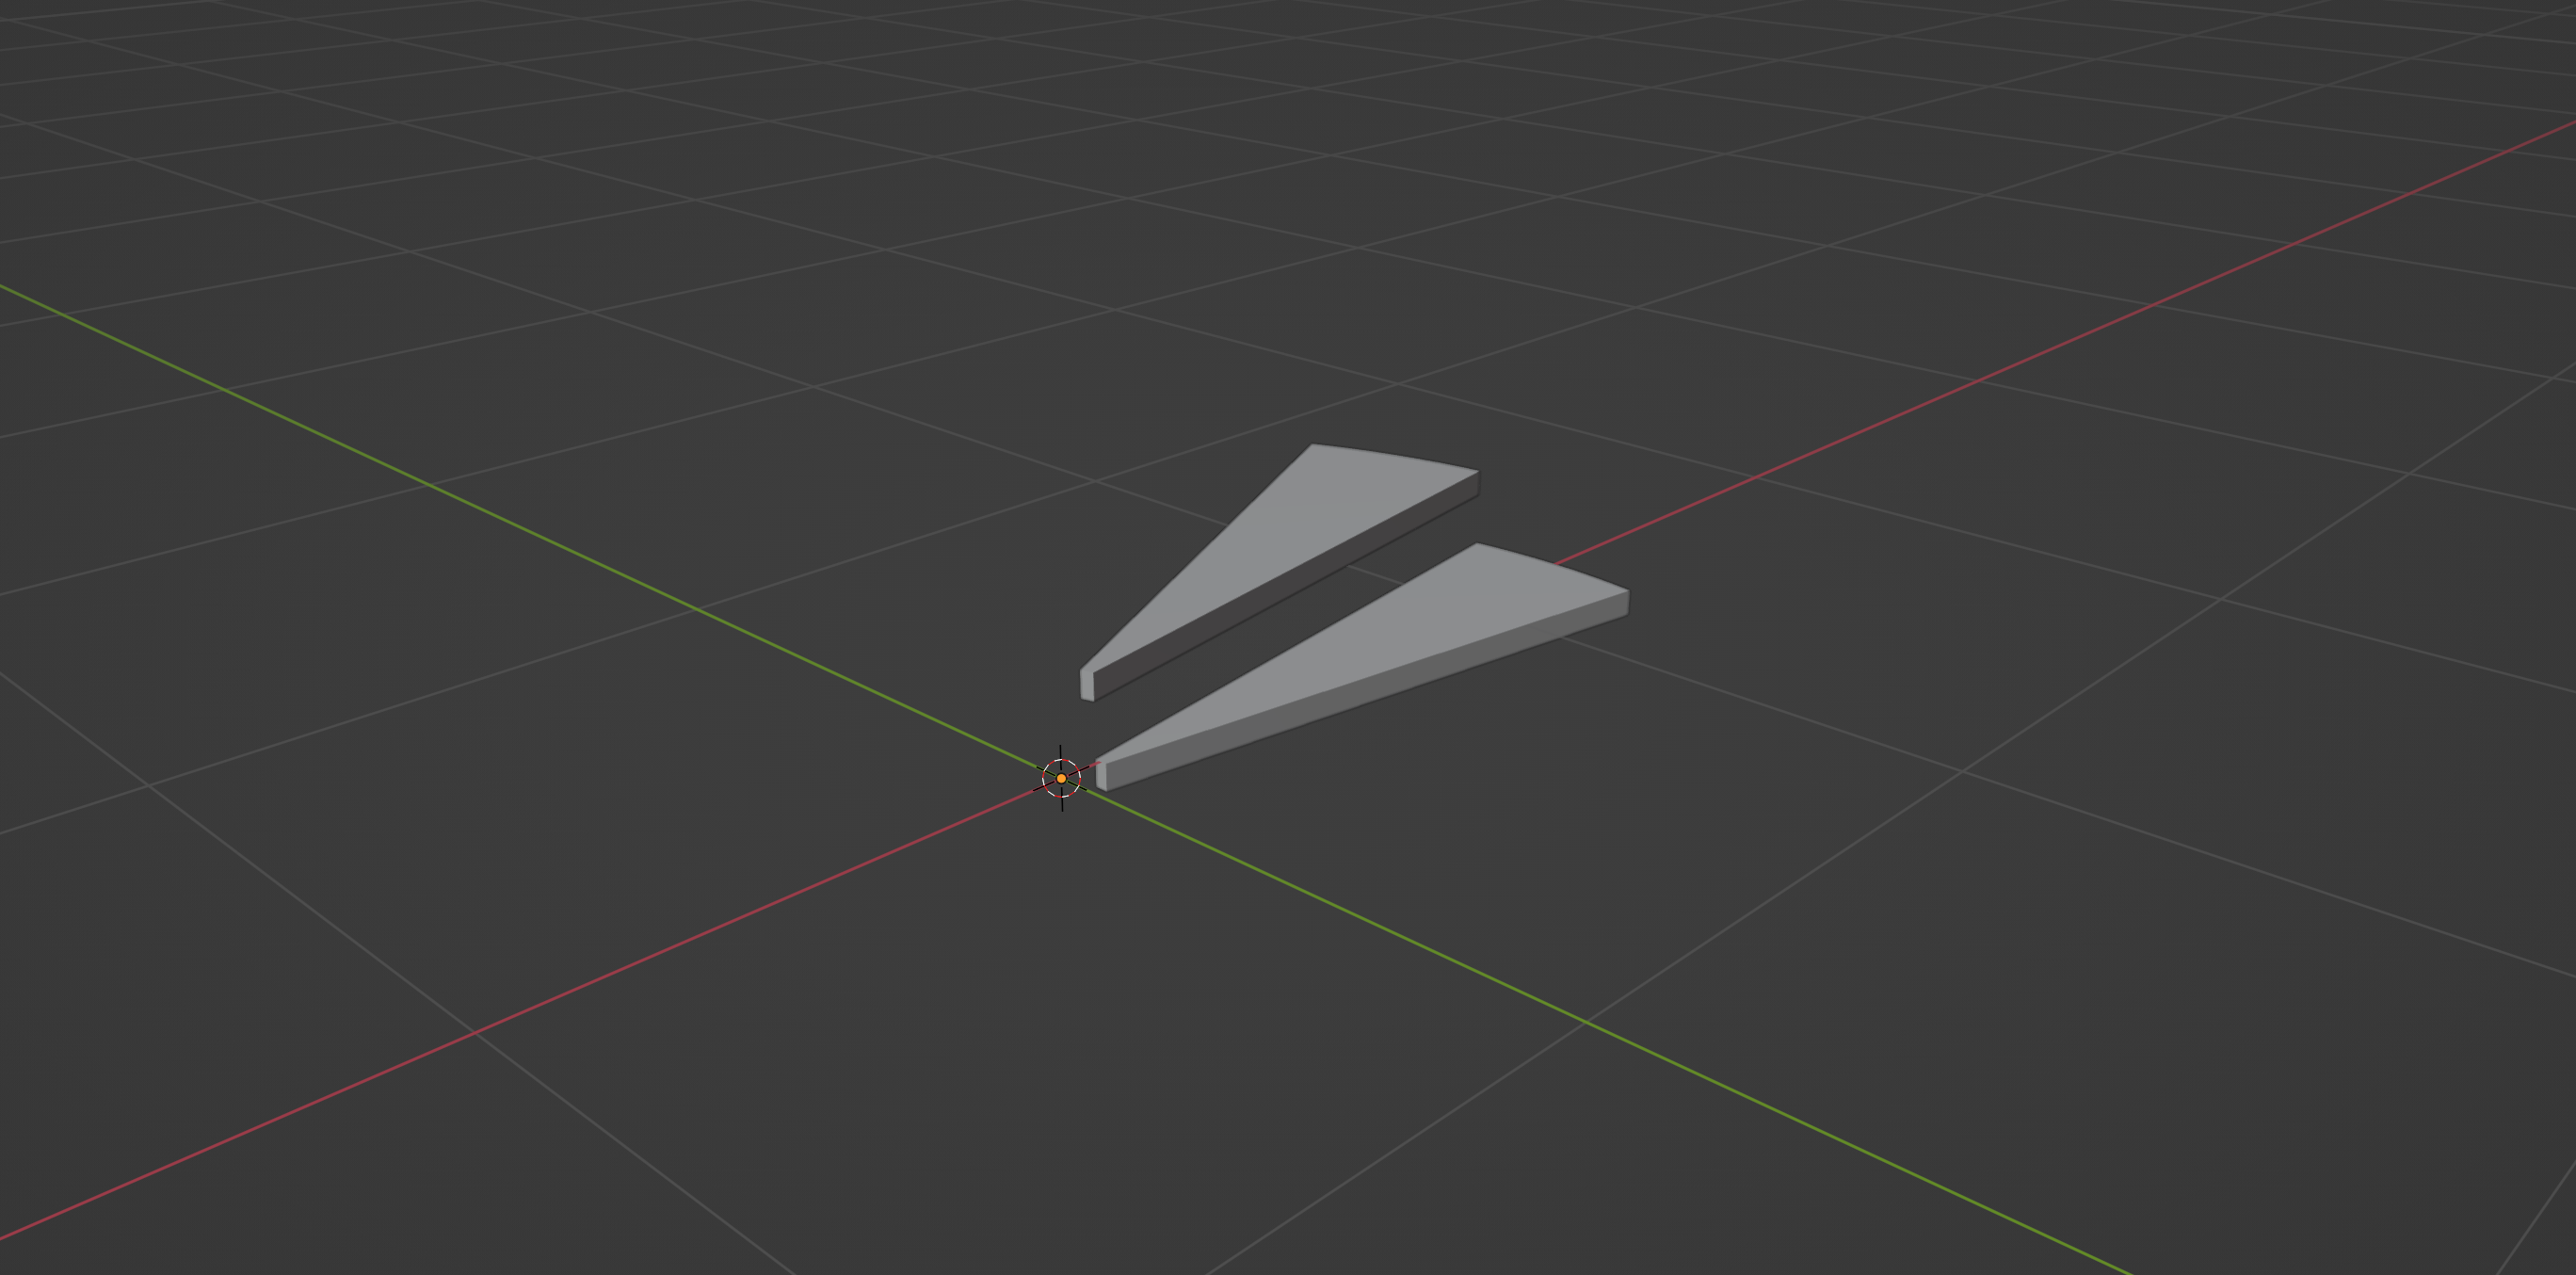
If you try running running the script now, you should be seeing two stair elements on top of each other, with our duplicated geometry in the right orientation, as shown in the above screenshot.
1.4 Wrapping everything in a loop to create the spiral
We can generate the rest of the steps simply wrapping this code into a for loop:
...

stair_geo = bm.verts[:] + bm.edges[:] + bm.faces[:]

for i in range(1, step_count + 1):
    return_geo = bmesh.ops.duplicate(bm, geom=stair_geo)

    verts = [elem for elem in return_geo['geom'] \
                if type(elem) == bmesh.types.BMVert]
    bmesh.ops.translate(bm, verts=verts, vec=(0, 0, i * tread_height))

    matrix_rot = Matrix.Rotation(i * angle_rot, 3, (0, 0, 1))
    bmesh.ops.transform(bm, matrix=matrix_rot, verts=verts)

bmesh.ops.delete(bm, geom=stair_geo)
del return_geo

...
There are a few things worth noting here:
- We are leaving the line where we create the
stair_geovariable out of the loop, since we need that original reference to the our first stair element throughout the loop. - At every iteration of the loop, we multiply the
tread_heightand theangle_rotby the loop variableiso that we increment them at every step. - And finally, we are deleting the original stair element we stored in the
stair_geovariable. Because, if you think about it, that stair is basically sitting at the ground level where the bottom floor would be. So we wont be needing that piece.
Similarly, if you don’t want a stair element where it meets the floor level, you can simply omit the + 1 that we add to the step_count inside the range() function. But, in my case, I am gonna leave it as is.
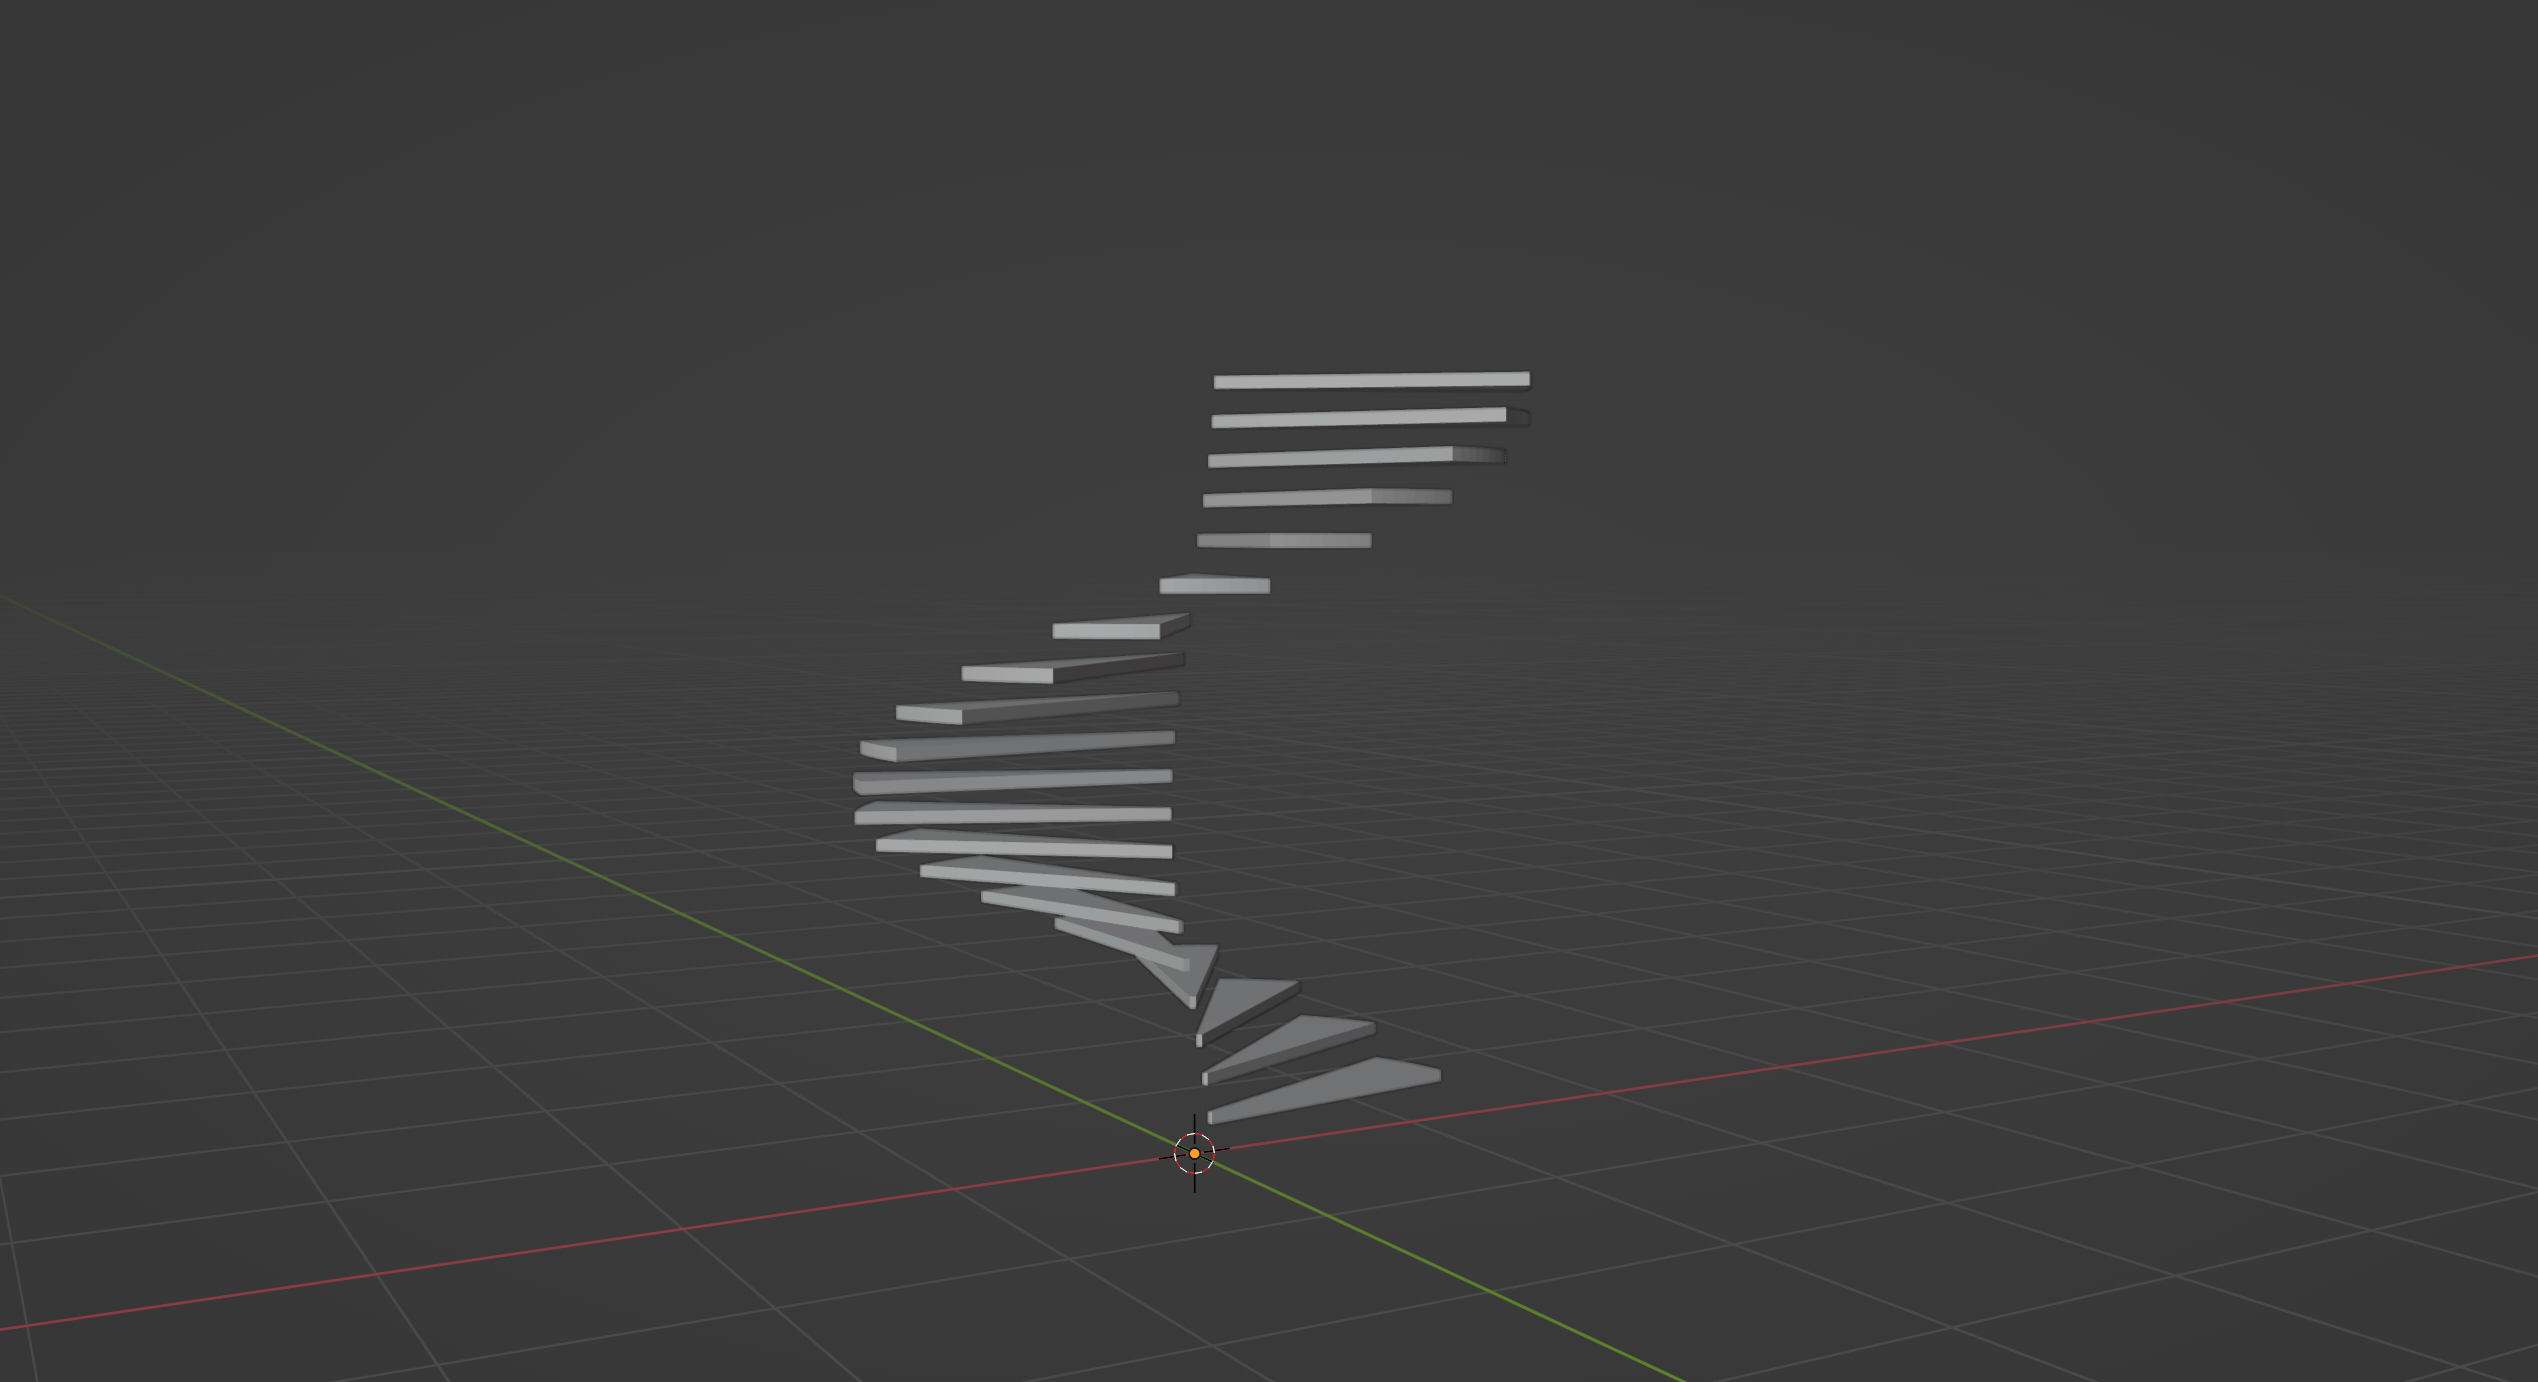
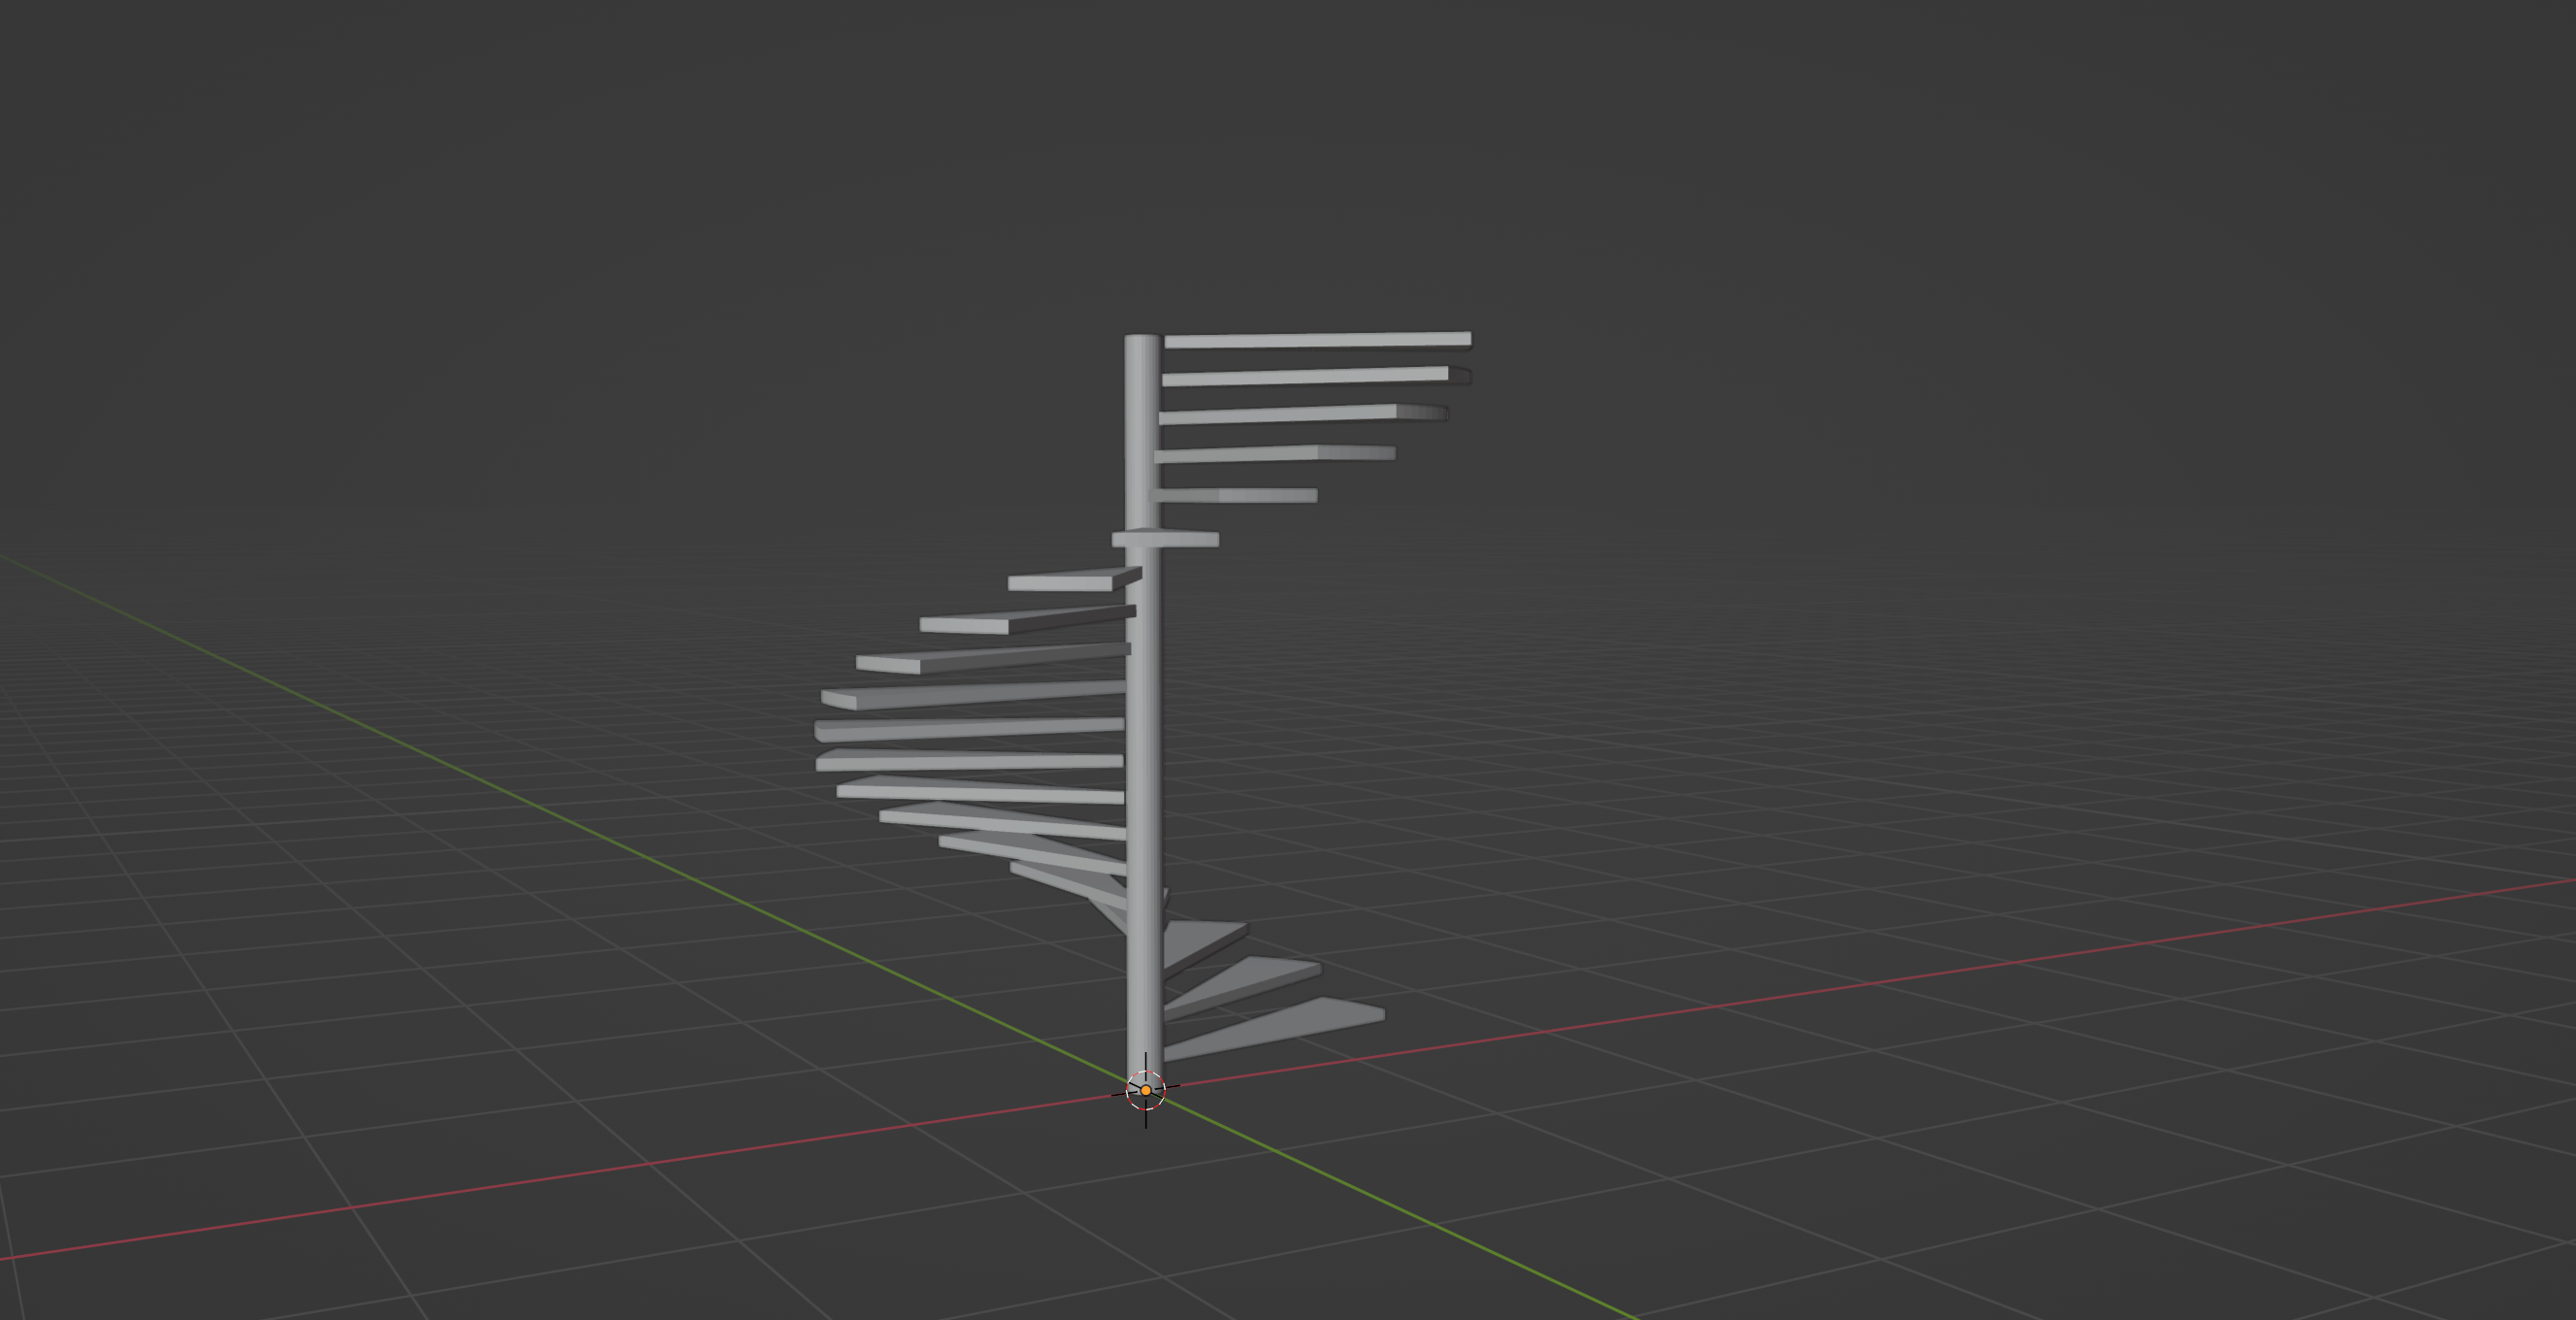
If you run the script now, you should be seeing the steps spiralling up as shown in the above screenshot. And there we have it – a set of spiralling stairs!
Now, let’s move on to generating the remaining parts.
2. Creating the center pole
Let’s quickly get the center pole out of the way. After all that we have done so far, this should be an absolute no-brainer:
...

return_geo = bmesh.ops.create_circle(
    bm,
    cap_ends=True,
    segments=32,
    radius=POLE_RADIUS
)

print(return_geo['verts'][0].link_faces[0])

circle_face = return_geo['verts'][0].link_faces[0]

return_geo = bmesh.ops.extrude_face_region(bm, \
                geom=return_geo['verts'] + [circle_face])

verts = [elem for elem in return_geo['geom'] \
            if type(elem) == bmesh.types.BMVert]

bmesh.ops.translate(bm, verts=verts, vec=(0, 0, FLOOR_HEIGHT))

del return_geo
...
Basically we are creating a new circle, extruding it and moving the it along the Z axis till the top of the staircase, which is basically the floor height. One thing note here is that, we we are finding the circle face using the link_faces attribute of the first vertex. This attribute basically stores a list of all faces a particular vert is connect to. Since, in our case all the vertices in the return_geo are the vertices of a circle, all vertices will be connected to only one face.
We simply store this face in circle_face variable and pass it to the extrude method along with all the vertices that the create_circle method returned.
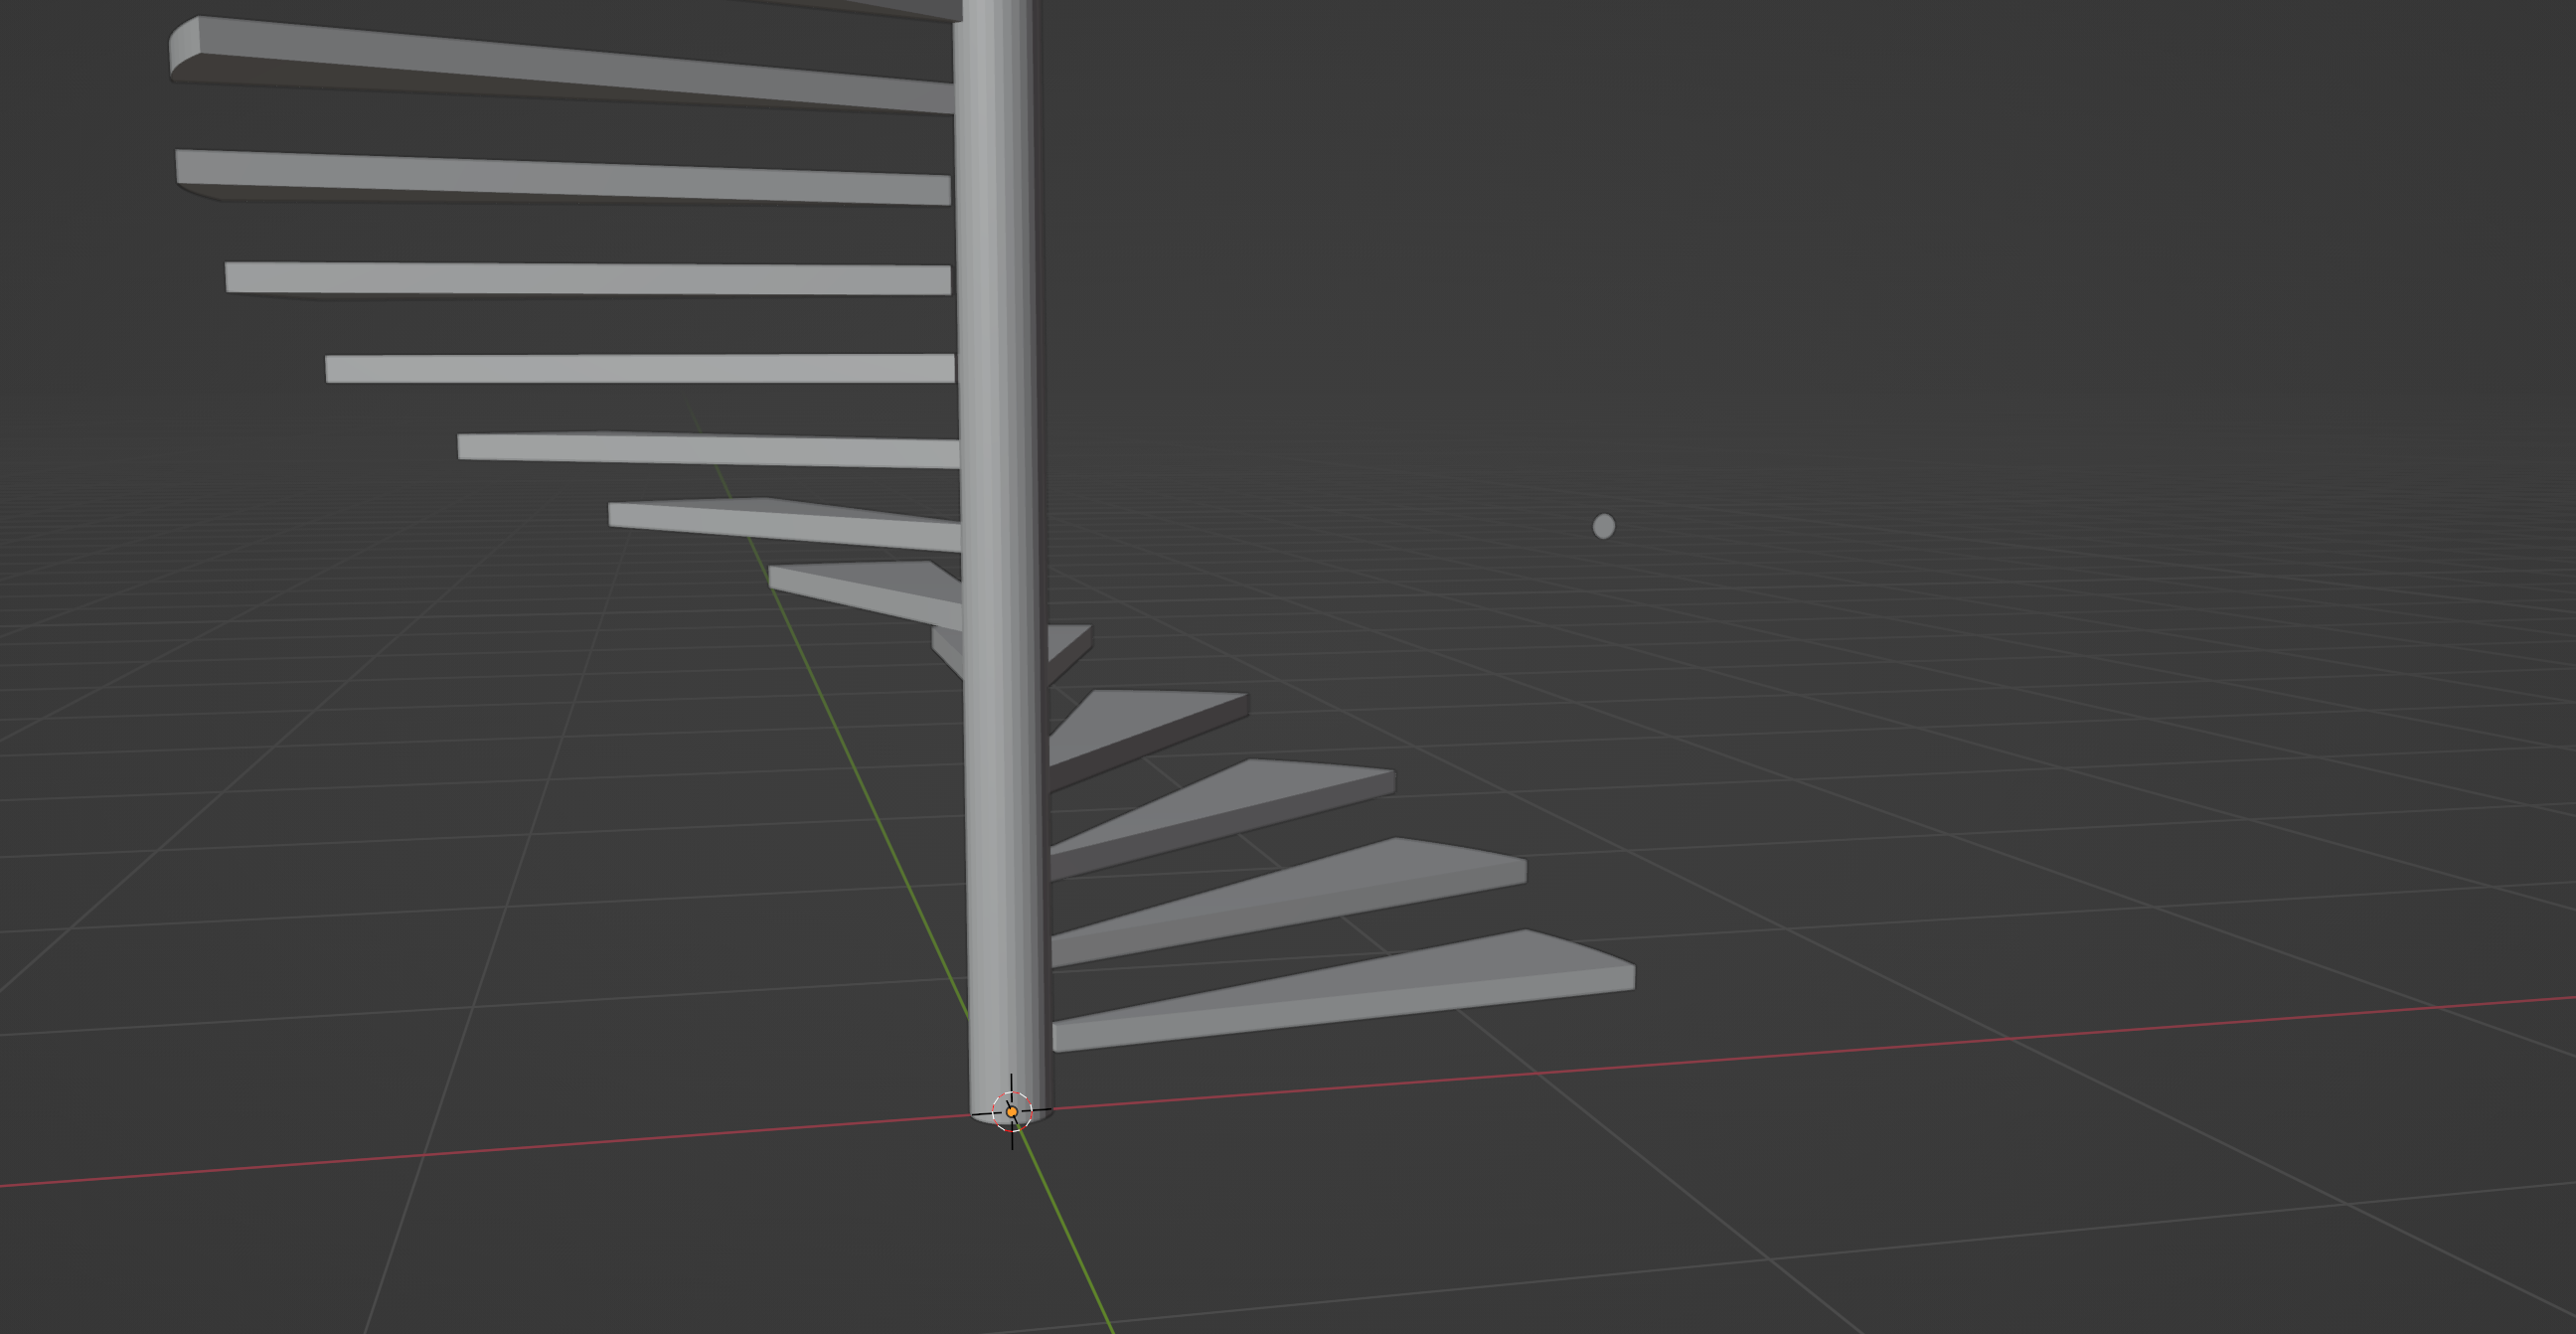
If you run the script now, you should be seeing something like this.
Now let’s move on to creating the railing.
3. Creating the hand rail
To create the railing, we will do a few things similar to how we created the center pole and how replicated the stairs into their respective places. We will first start off by creating, and positioning a circle that will act as a profile for our hand rail.
But before that let’s add a RAILING_HEIGHT parameter to our list at the top. Railing heights usually lie between 0.85-0.9. I have chosen a railing height of 0.875 in this case. I have also added a RAILING_RADIUS parameter. I have chosen a radius of 0.0375 (1.5 inches), so basically we will get a railing of thickness 3 inches.
# Parameters
STAIR_WIDTH = 1.2
POLE_RADIUS = 0.075
POLE_GAP = 0.01
TREAD_DEPTH = 0.25
TREAD_THICKNESS = 0.05

TREAD_HEIGHT = 0.15
FLOOR_HEIGHT = 3
RAILING_HEIGHT = 0.875
RAILING_RADIUS = 0.0375

...

return_geo = bmesh.ops.create_circle(
    bm,
    cap_ends=True,
    segments=16,
    radius=RAILING_RADIUS
)

matrix_rot = Matrix.Rotation(math.radians(-90), 3, (1, 0, 0))
bmesh.ops.transform(bm, matrix=matrix_rot, verts=return_geo['verts'])

stair_diameter = POLE_RADIUS + POLE_GAP + STAIR_WIDTH
railing_distance = stair_diameter - 0.05 - RAILING_RADIUS

bmesh.ops.translate(
    bm, verts=return_geo['verts'],
    vec=(railing_distance, 0, RAILING_HEIGHT + tread_height)
)

matrix_rot = Matrix.Rotation(angle_rot/2, 4, (0, 0, 1))
bmesh.ops.transform(bm, matrix=matrix_rot, verts=return_geo['verts'])

...
First we start by creating a new circle which will act as our extrusion profile for the railing. Then we rotate this circle -90 degrees in the X axis by creating a transformation matrix and using the transform operator. We are using a negative value for the rotation so that the backface of the circle points in the direction of the stair. Otherwise, when we extrude the railing, all the face normals would face inwards, which we don’t want.
Then we calculate the total stair_diameter by adding the POLE_RADIUS, POLE_GAP and STAIR_WIDTH. We then subtract a value of 0.05 and the RAILING_RADIUS from this value to fins the railing_distance, which is the distance we will move this circle away from the center to place it near the edge of the stair where the railing should be. The value 0.05 is to offset the railing inwards so that it doesn’t sit exactly at the edge. And the reason we subtract the railing radius is because the translation happens with respect to the center.
Then we finally rotate this circle along the Z axis by half the angle of rotation so that it matches the rotation of our first stair mesh.
If you run the script now, you should see a circle exactly where the railing should start like shown in the screenshot above.
Now the only step remaining is to extrude this into a spiral, for which we will be using the spin method we saw in part 1. It makes it easy for us to create the spiral without having to manually go through the extrude, translate, rotate-using-transform cycle.
...

circle_face = return_geo['verts'][0].link_faces[0]

bmesh.ops.spin(
    bm,
    geom=return_geo['verts'] + [circle_face],
    axis=(0, 0, 1),
    cent=(0, 0, 0),
    steps=step_count * 4,
    angle=angle_rot * step_count,
    dvec=(0, 0, tread_height/4)
)

...
Notice I am using link faces technique we used in one of our previous steps to get the face. The spin method is fairly straight forward like we saw in part 1. The only difference here is that we are additionally providing a delta vector using the dvec parameter. This basically tells how much to offset in the Z axis with every iteration of the spin. A small thing worth noting there is that for steps I have multiplied the step_count by 4 because otherwise the railing would come out extremely jagged. And I am using this same 4 to divide the tread_height so that the delta vector matches the steps count we have.
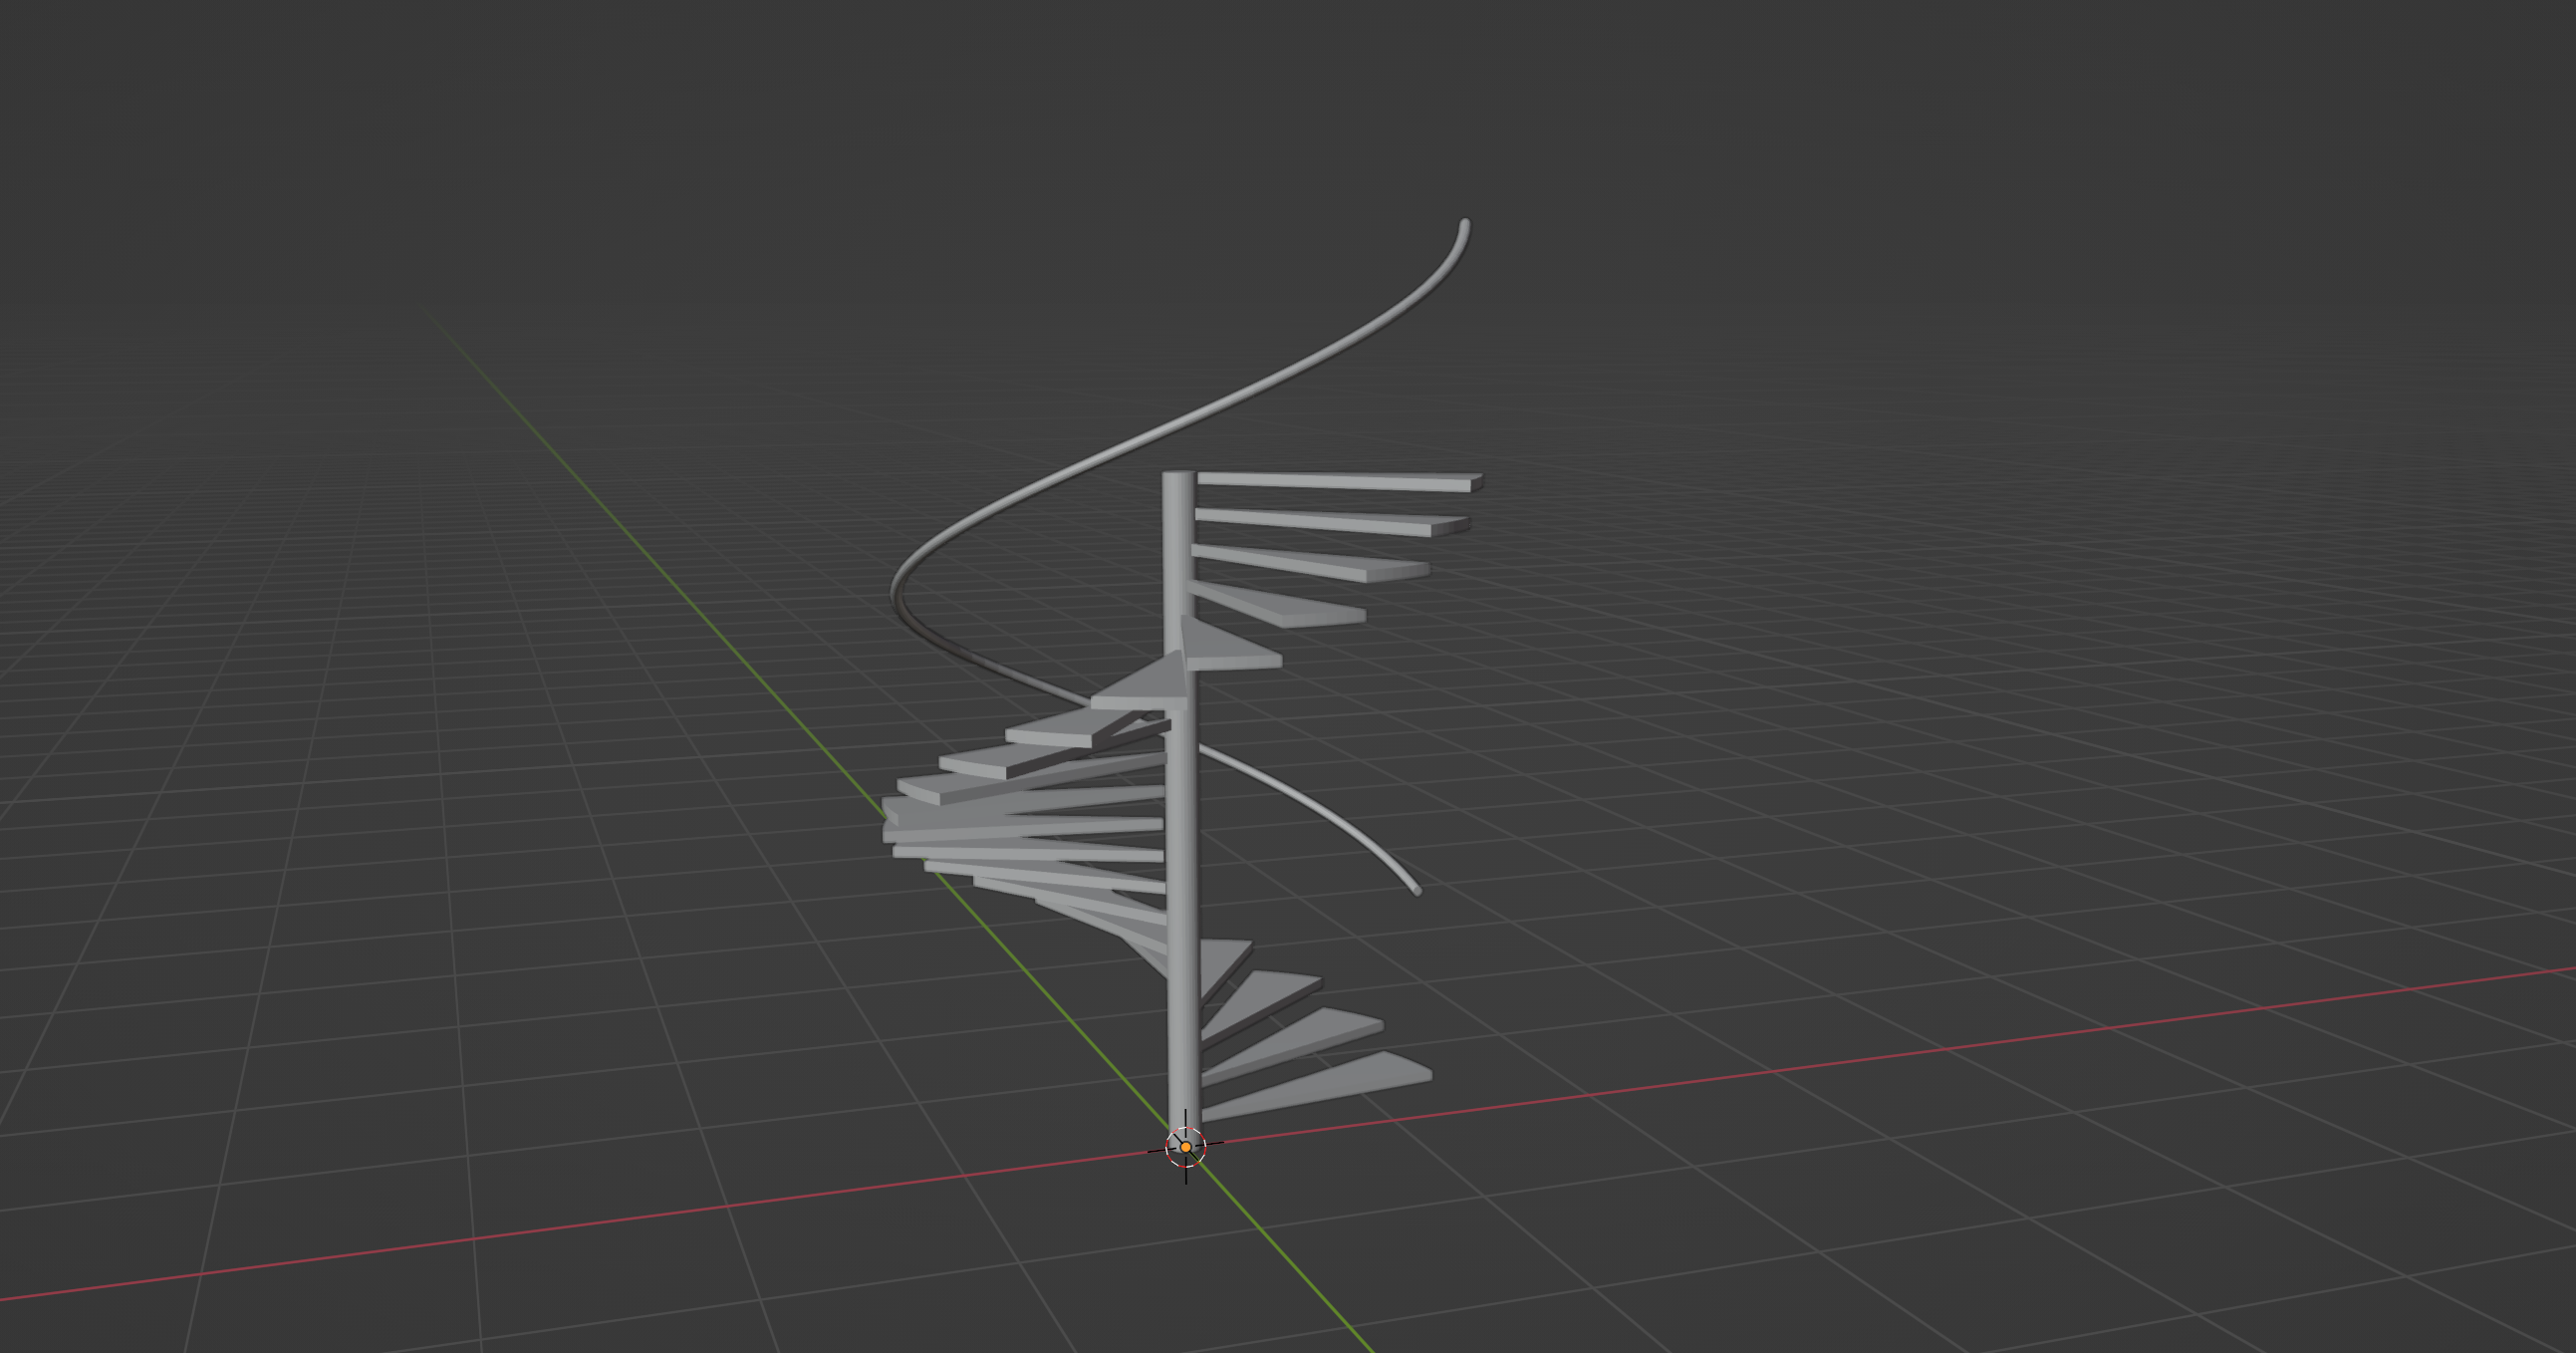
If you run the script now, you should see a railing spiralling up the staircase like shown in the screenshot above!
4. Creating the balusters
Now the only thing we have left to deal with is the balusters, which I am leaving as a home work to you. :) But before that, I am gonna leave you with a few things you should be thinking about when it comes to the balusters:
- The first thing is we definitely can’t get away with adding a single baluster per step, because the spacing between then would be too high. So you need to figure out how to add two or more balusters per step while still keeping them evenly spaced across.
- The other thing is, supposing you have chosen to add two balusters per step, the top of the baluster where it meets the hand rail is going to be different for each of them. And the more number of balusters you want per step, the more the range of values will be.
So there is quite a bit of math involved in this case which I would like you to genuinely give a try. I will be sharing my solution for generating the balusters coming Monday in my newsletter. So make sure you are subscribed so you don’t miss it.
Until then I hope you have fun playing with the BMesh API. See you all next time!
P.S
You can grab the finished blend file for this part from this link.
Read the post on generating balusters here.
Resources
- BMesh API documentation
- mathutils documentation
- Linear Algebra series by 3Blue1Brown
- Link to Part 1 of the article
Subscribe to my newsletter
Join 1500+ Technical Artists, Developers and CG enthusiasts who receive my latest posts on Blender, Python, Scripting and Computer Graphics directly to their inbox.